
DIY Fall Wreath – Summer to Fall Wreath Recycle
It’s that time again! The season is changing and it’s time to transform my wreath from summer to fall. This DIY Fall Wreath may be one of the easiest projects I’ve done all year and the results are spectacular.
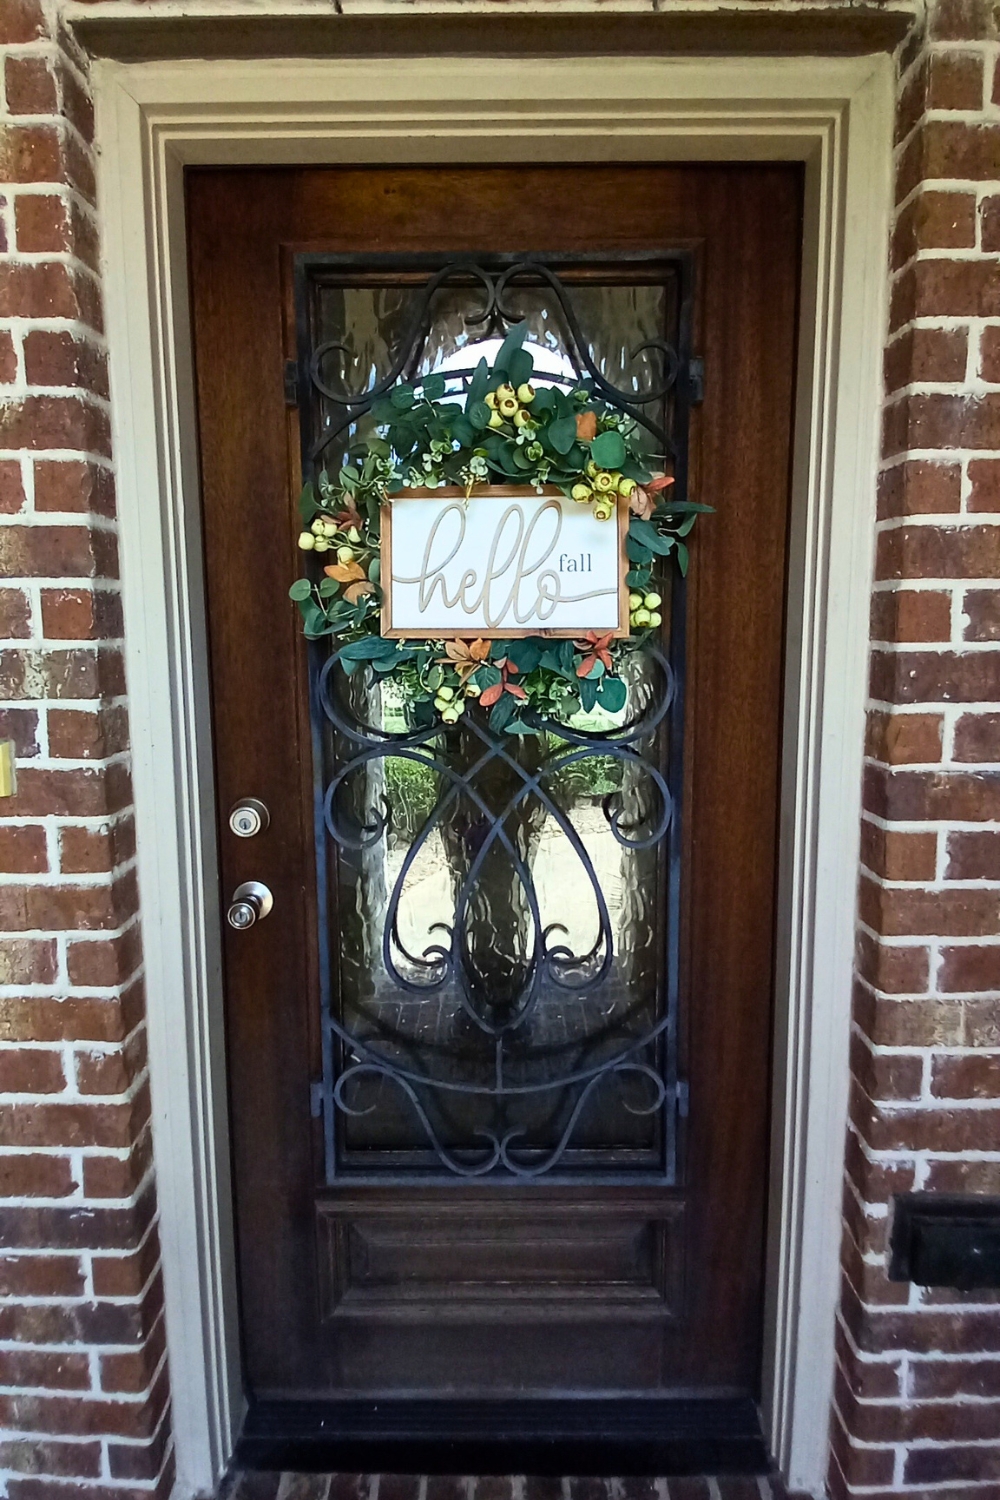
Keep reading to see how I created this gorgeous front door wreath for fall.
Recap (Wreath Recycle Project)
This is the second installment in my wreath recycle series. Here’s a brief recap if you missed the first project.
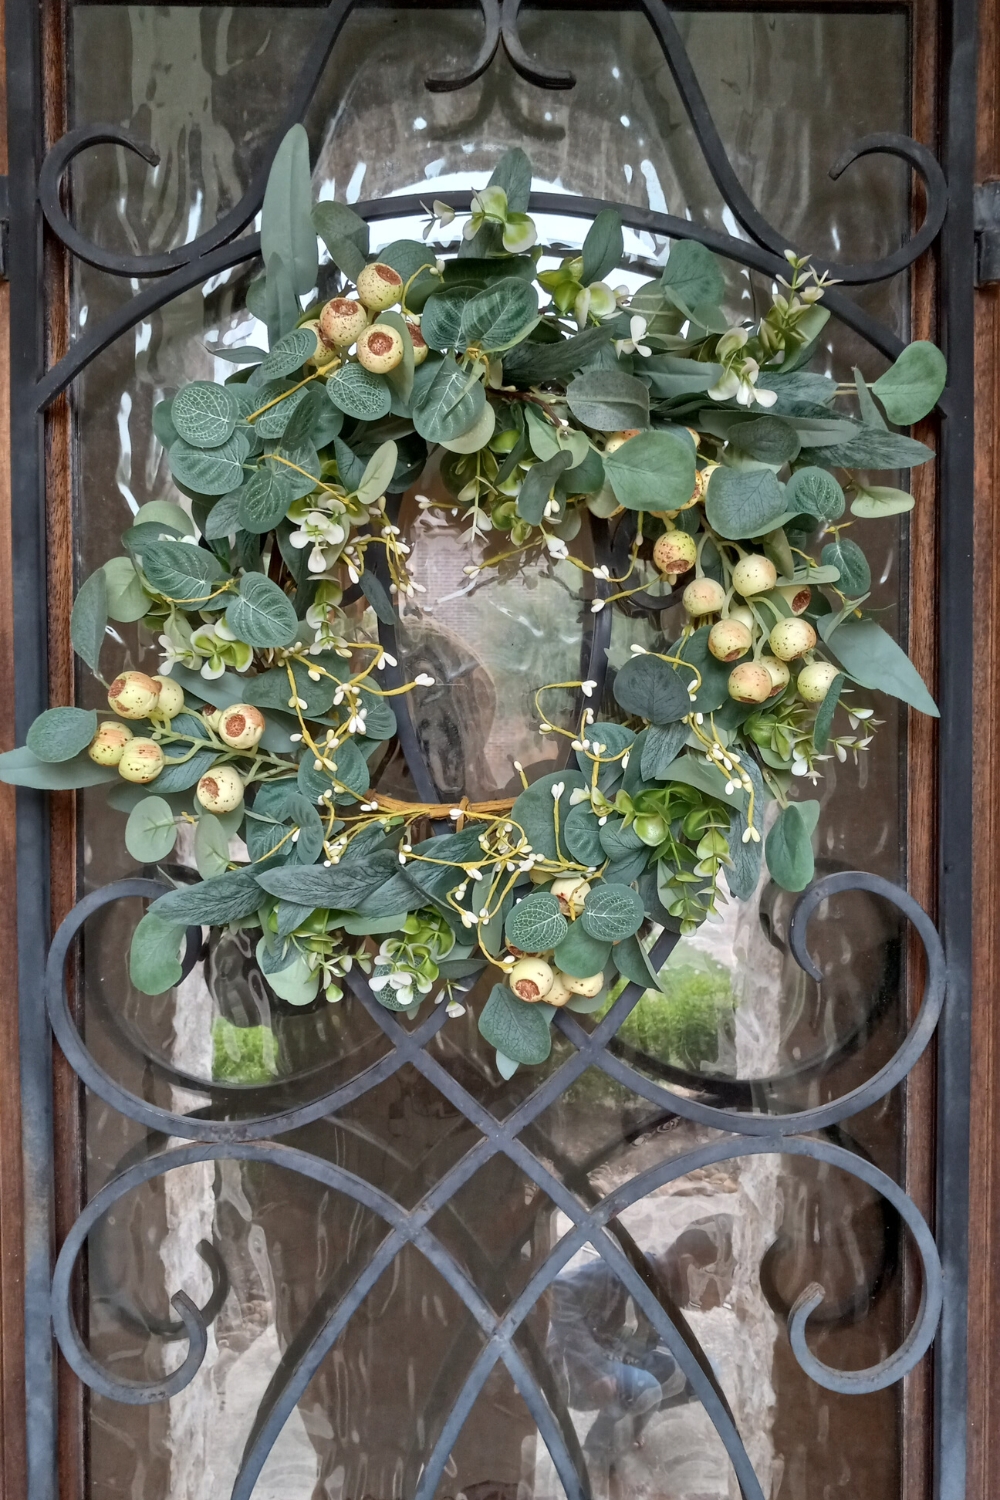
All year long I’m using the same wreath for my front door. I purchased this wreath (which I refer to as my base wreath) in January and used it as-is as my post-holiday winter wreath.
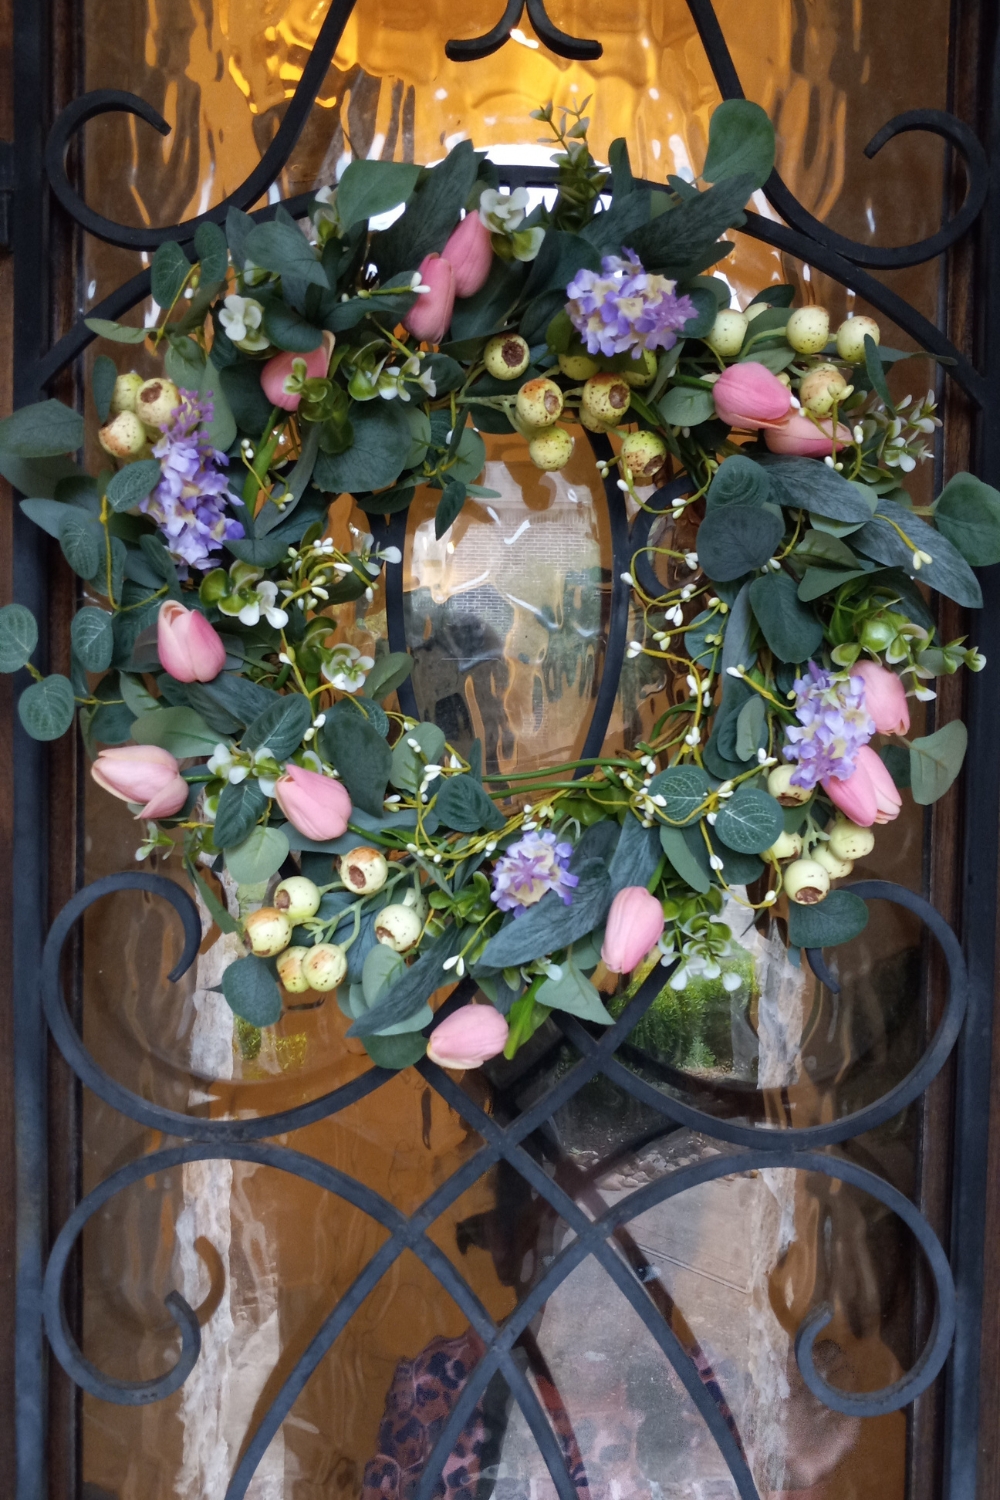
I then recycled the same wreath for the spring by adding faux tulips and lilac stems. While I originally intended to change up the style for summer, I loved the way it looked so much that I kept this version up for both spring and summer.
Here’s a link to the full tutorial for the spring/summer wreath.
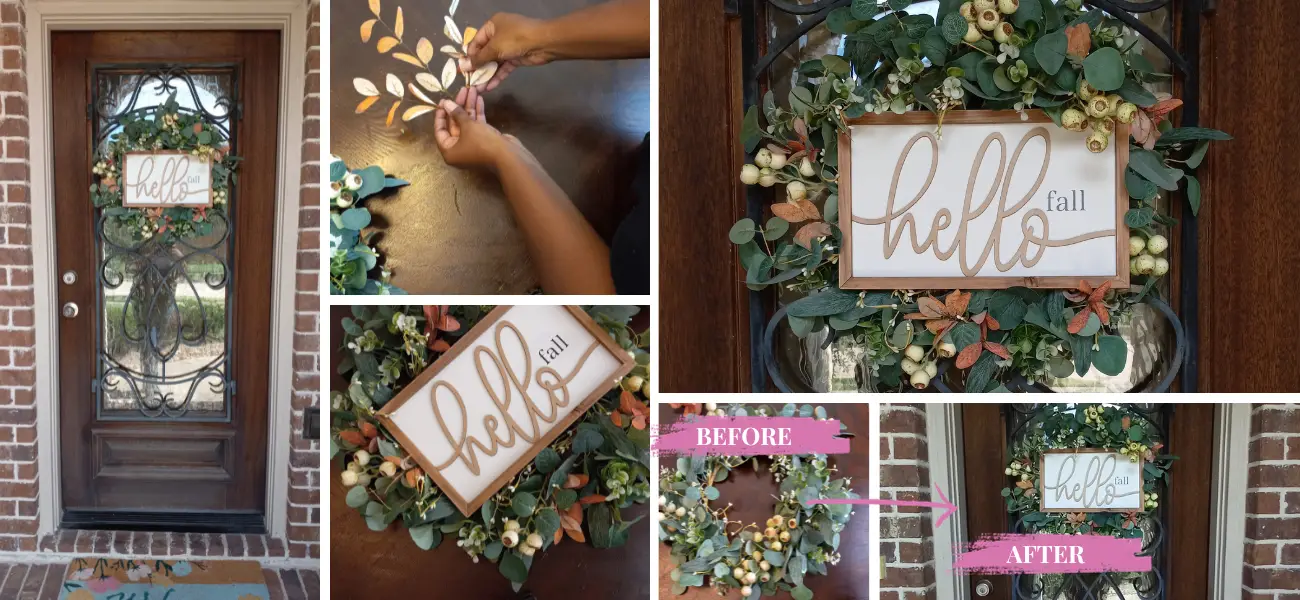
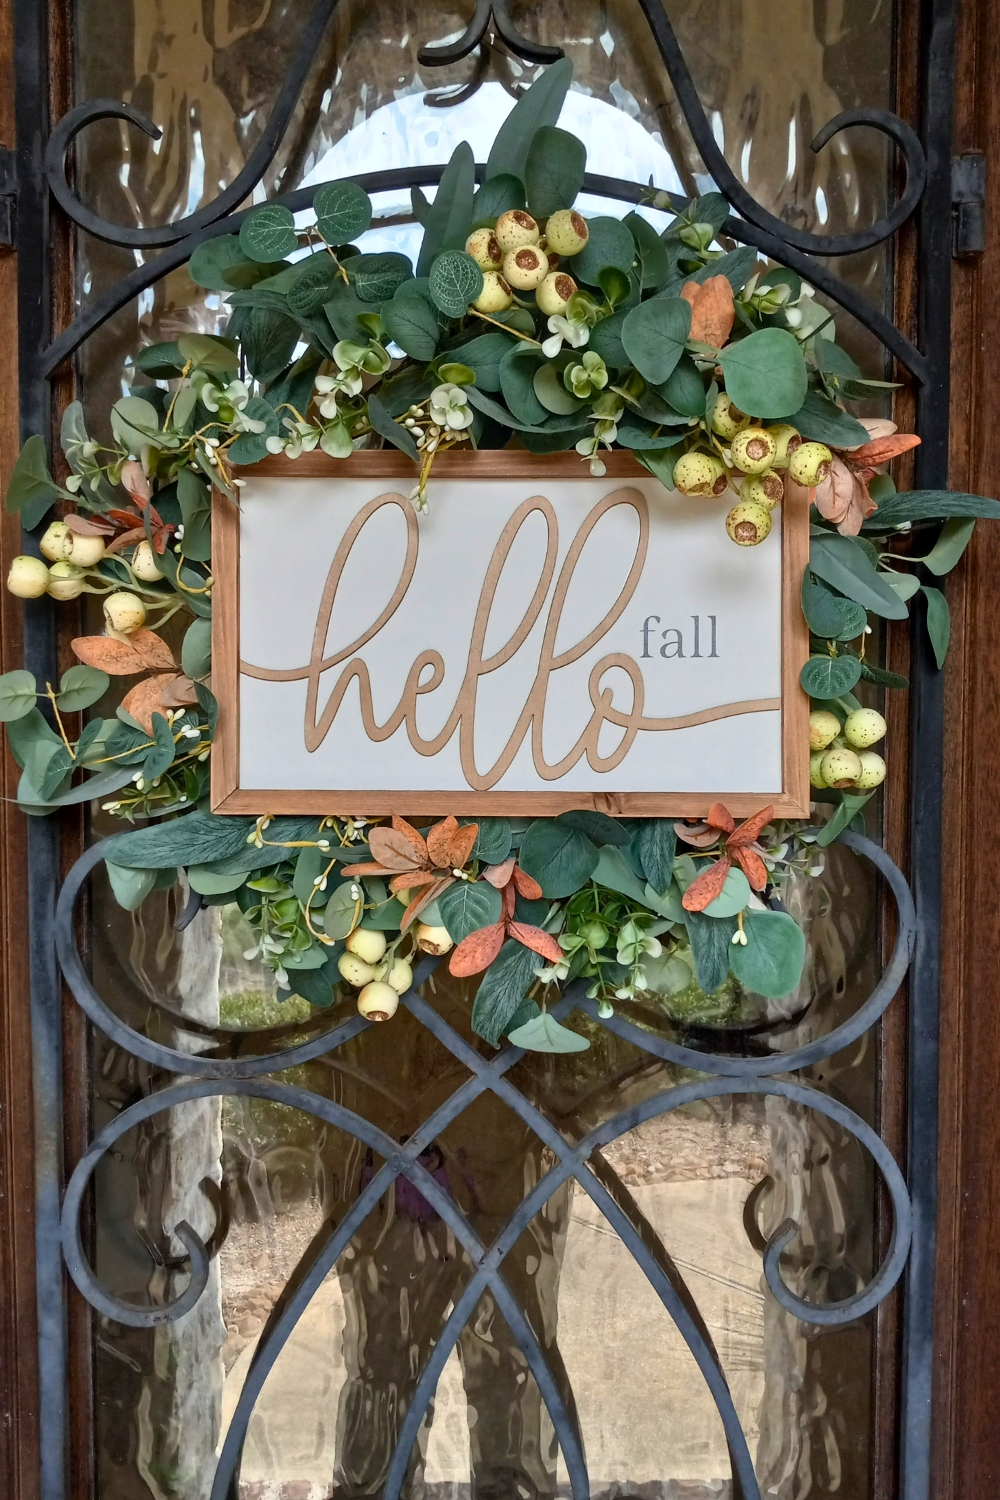
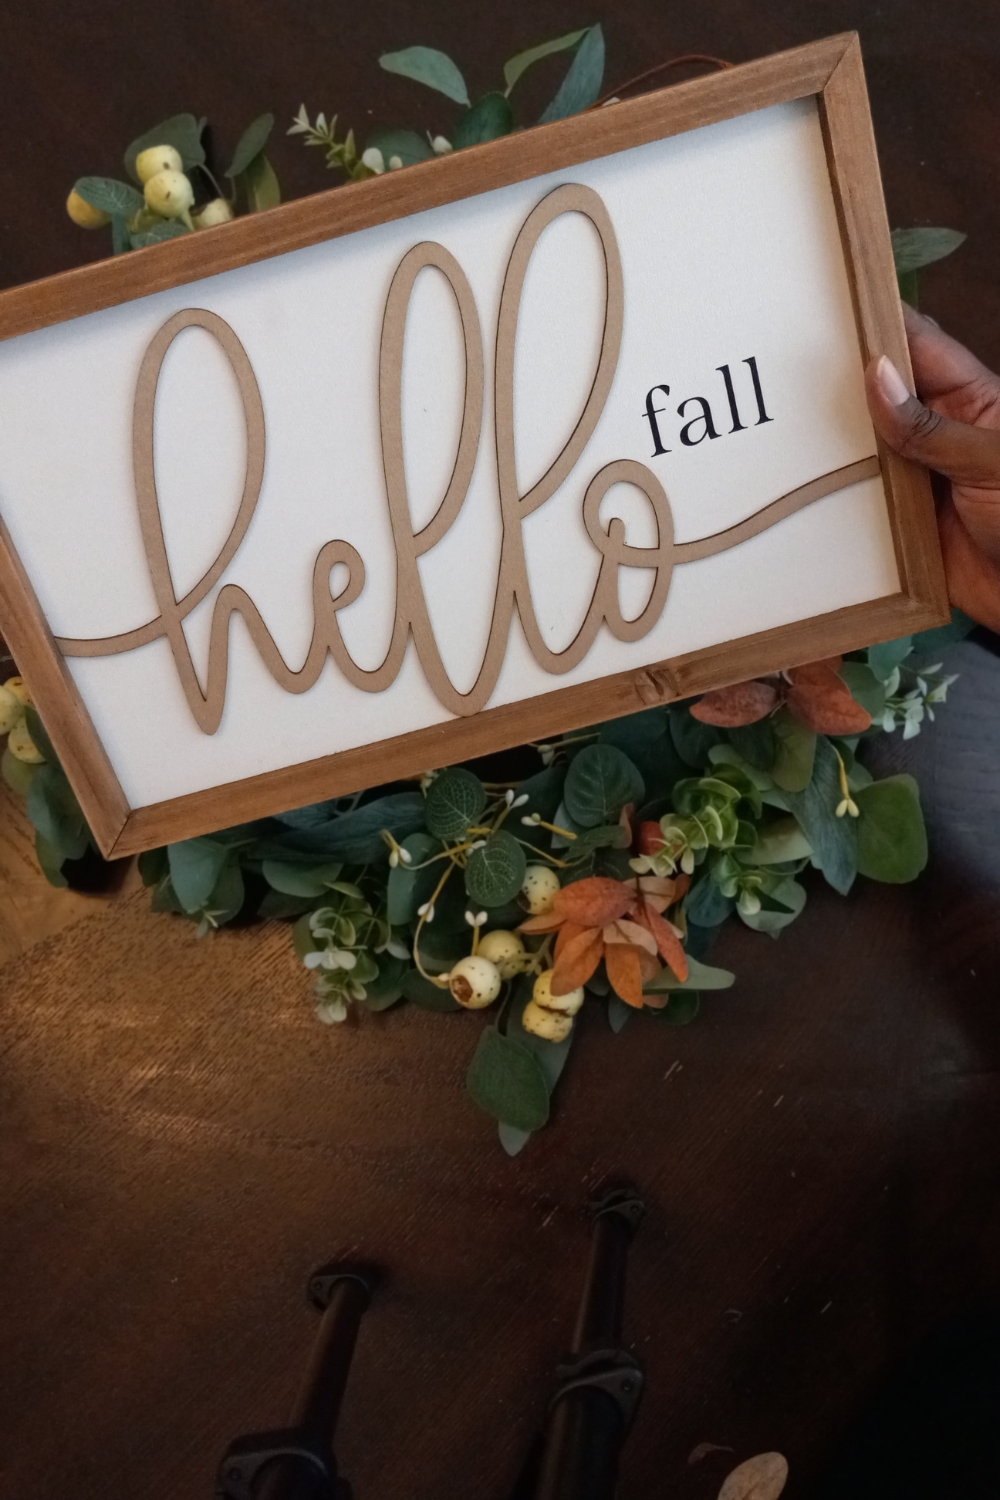
Now here we are in fall and I’ve transformed this wreath once again. To create the fall wreath I added only two things to the base wreath. First I added clusters of golden orange eucalyptus stems. Then, I added a wood-framed “Hello Fall” sign to the center.
I found the sign at Dollar General for only $5 and thought it would be perfect for this DIY fall wreath. The eucalyptus stems came in a set of 6 stems from Amazon. I only needed 1 for this project.
Decorating on a Budget (Wreath Recycle Method)
I decided to take on the challenge of decorating all 4 seasons with the same wreath as a way to save money on home decorating.
Wreaths are one of those items that are sneakily expensive in the grand scheme of home decor.
Think about it… if you find a nice-looking wreath for $40, it’s a bargain. Most wreaths land in the $50 – $80 range.
Now, let’s do the math on this. If we spend $40 per season on front door wreaths, that’s $160.
Again, conservatively, those wreaths should last you 3 years (assuming you don’t get bored of the style).
Wreaths are something that will need to be replaced over time because they’re exposed to the elements. You’ll lose leaves and flowers here and there. The color will fade and it will become dusty and dirty.
So a wreath that hangs around for 3 years is pretty good.
Back to the math… within 10 years, you’ll likely replace/repurchase 4 wreaths a total of 3 times each. This brings our total to $480.
That’s a lot, considering how much distance you’re able to get out of other decor pieces like vessels, baskets, figurines, wall art, etc.
But, if you spend $40 on a good base, then spend another $10 embellishing it for spring, $10 for summer, and $10 for holidays. That’s $70 total.
Swapping that system out 3 times in 10 years would bring you to a total of $210 vs the $480 you’d spend on pre-made wreaths.
Now that my reasoning for this crazy experiment has been explained. Let’s get into the fall version of this wreath.
DIY Fall Wreath
Let’s get started with constructing this DIY fall wreath. Below is the list of supplies I used.
Remember, to avoid hot gluing anything in place if you intend to recycle your wreath for another season.
Instead, wrap your wired stems around the base of the wreath to secure them in place. This will make it easy to disassemble later.
What You Need
- Faux Golden and Orange Eucalyptus (1 stem)
- Hello Fall Sign
- Scissors or Easy Cutter
- Base Wreath (on Mercari) or (on Amazon)
Before you begin
Start by removing any embellishments you added to your base wreath. For me, this means removing the tulips and lilac stems.
Instructions
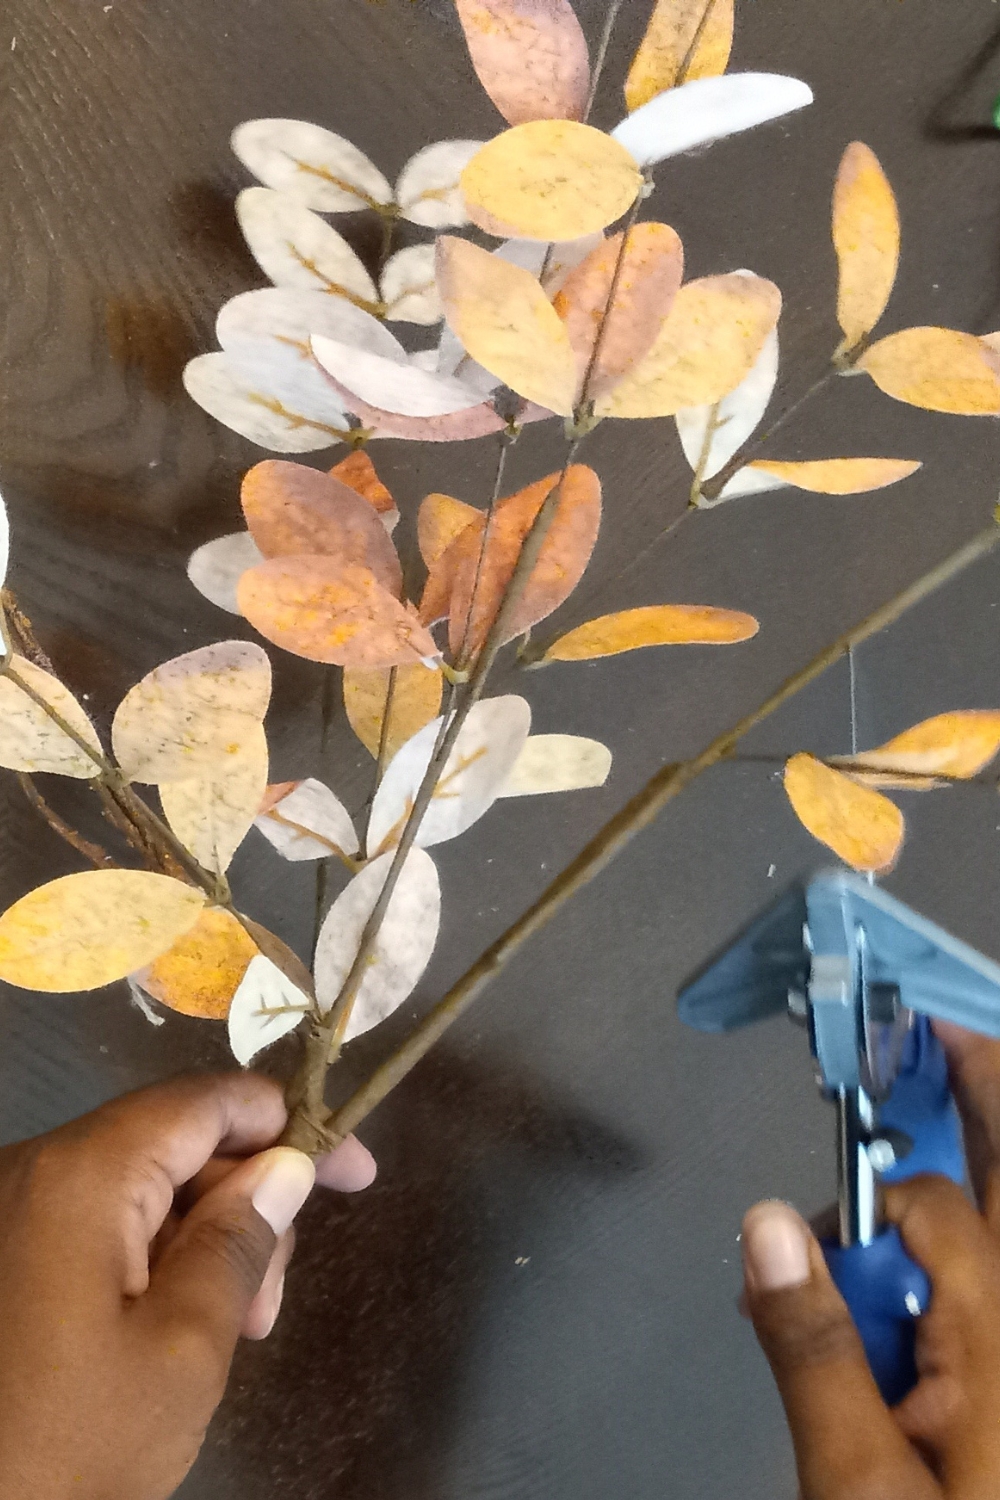
Step 1: Separate your side shoots/branches from your stem.
Use your scissors or Easy Cutter to snip off the side branches from your main stem.
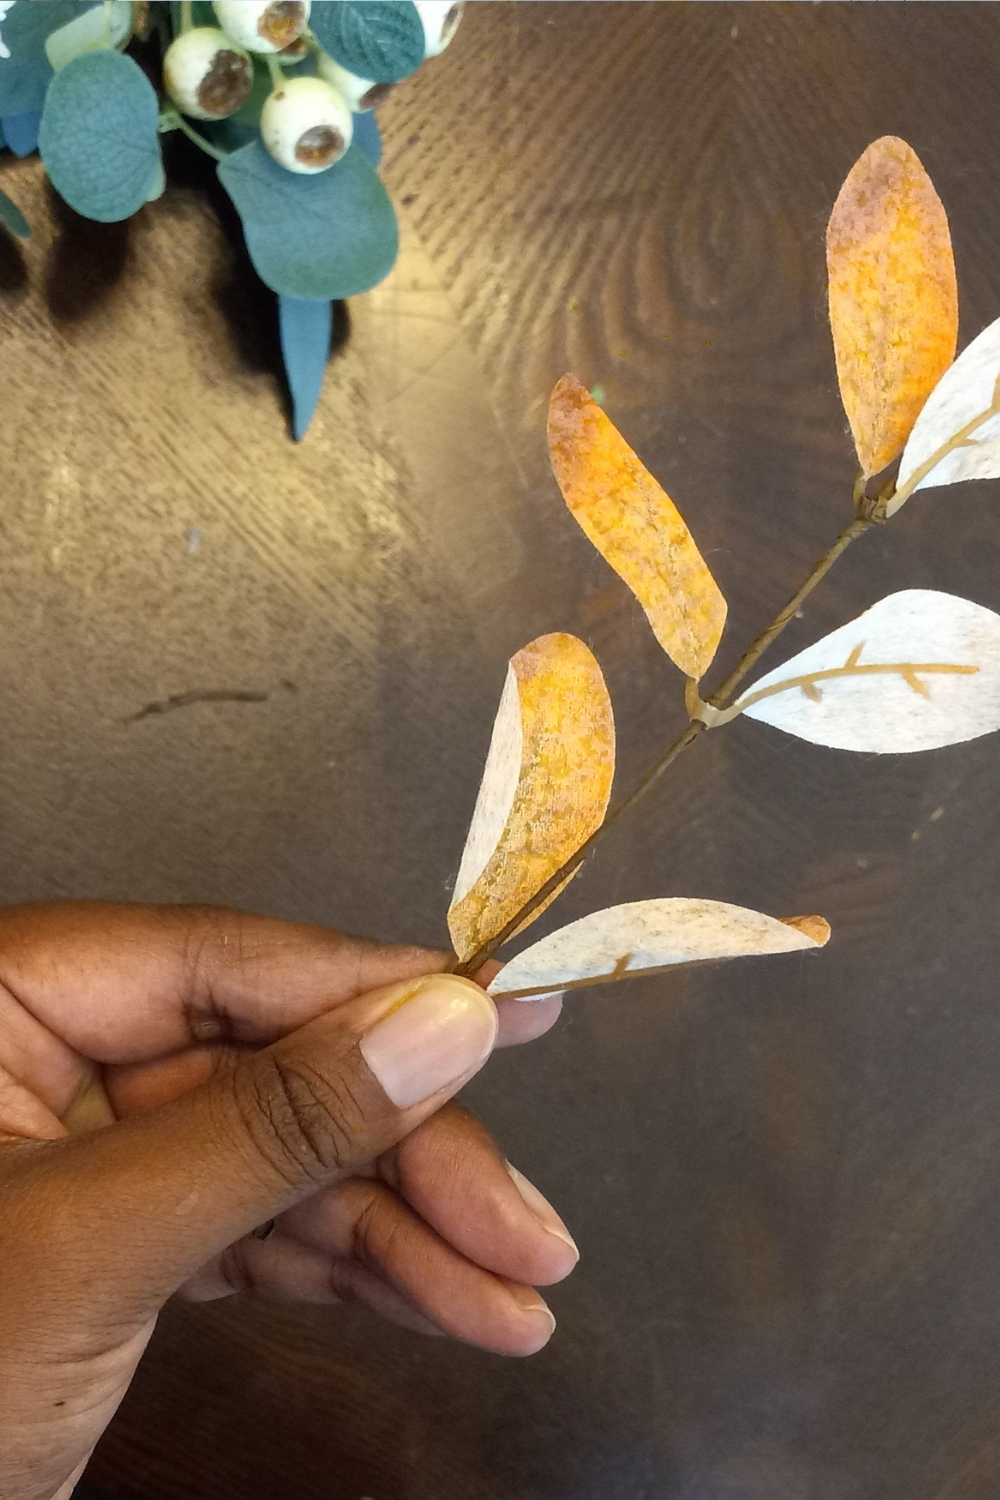
Step 2: Create your leaf clusters.
Now it’s time to create your leaf clusters. To do this you’ll want to slide your leaves up the branch to the top.
Depending upon the construction of your stems, your leaves may be glued to the little nodes (notches that bump out along the branch) or knotted with floral tape.
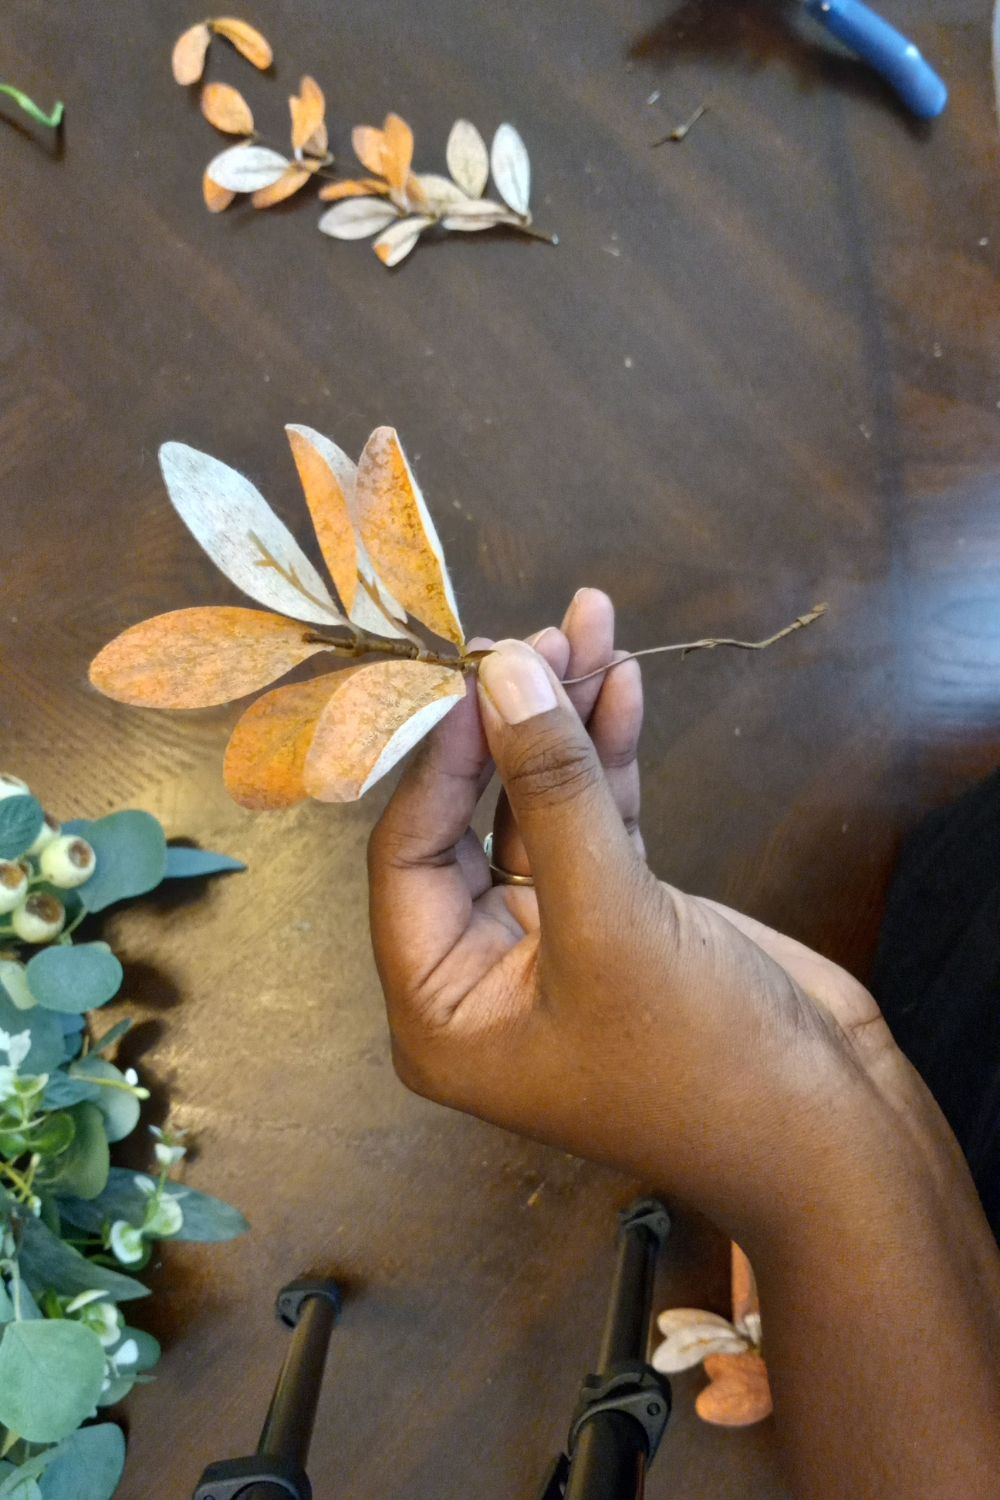
The stems I used were knotted with the floral tape so I had to tear the tape at that section to release the leaves from their positions. Once this was done, I was able to slide them freely up the branch.
Use your fingers or scissors to tear the floral tape.
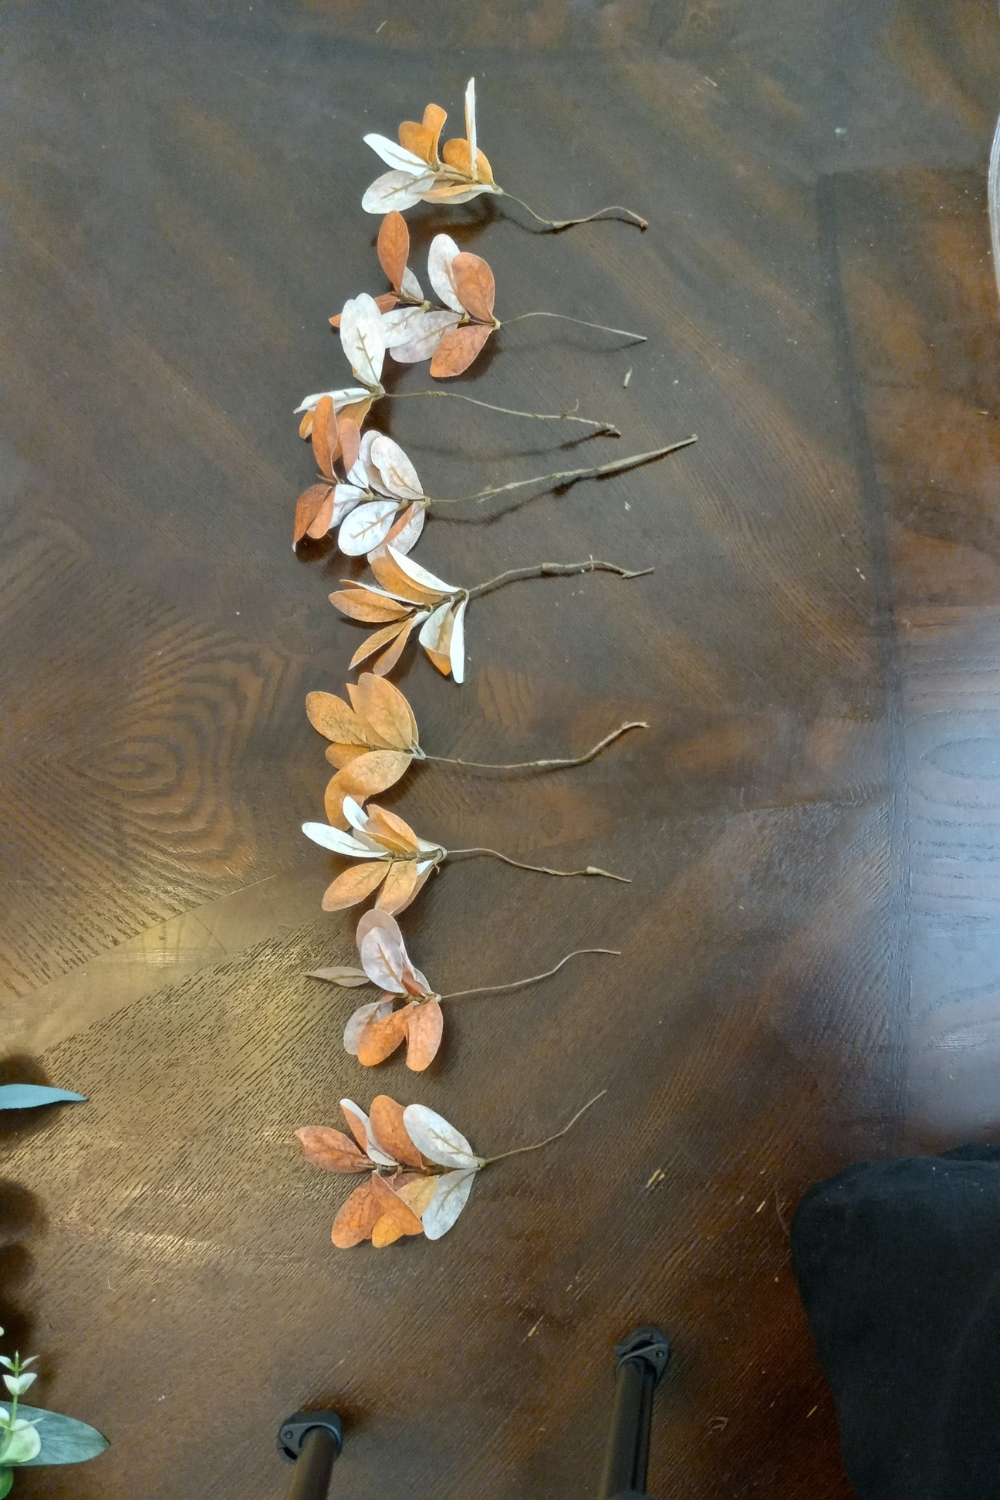
Step 3: Tuck and Secure your leaf clusters.
Add your leaf clusters at even increments around the wreath. Then, flip the wreath over and wrap the ends of the stems around the wreath frame.

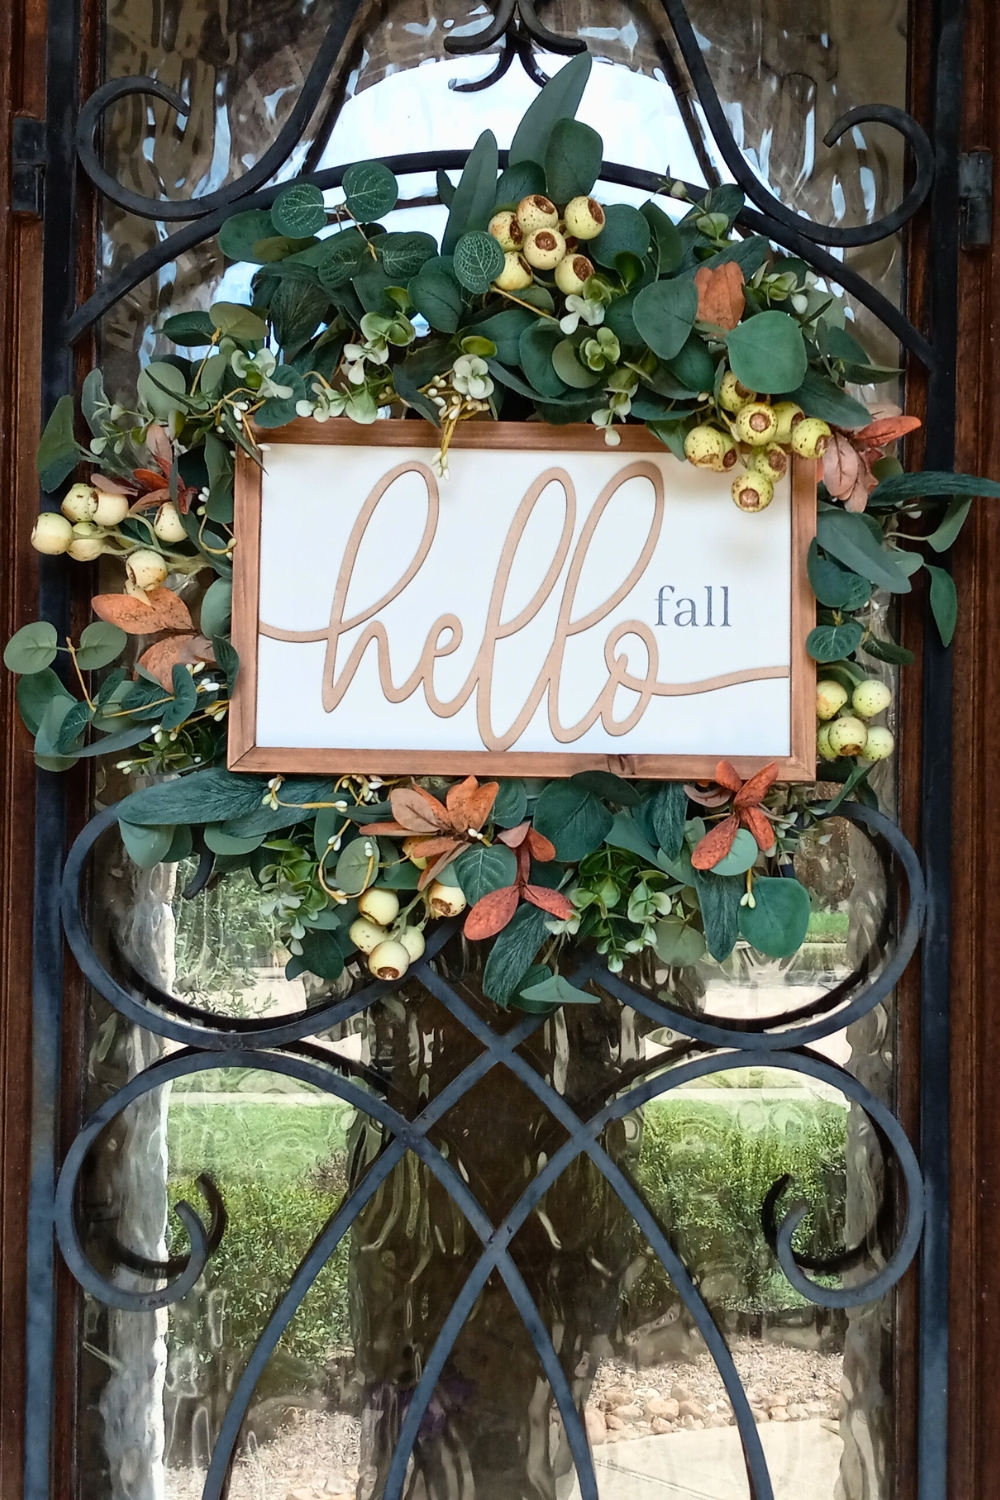
Step 4: Place and secure your sign.
Finally, place your sign in the center of the wreath. You may need to fan the branches of your wreath outward to accommodate the wreath.
Secure it by attaching the string of the sign to the wreath frame with a twist tie or by manually tying it.
If your sign does not have a string you can add a couple of command clips to the back of the sign. Then use twine, string, or a twist tie to connect the sign to the wreath frame.
Final Results
Here’s a look at the final results of my DIY fall wreath.
Conclusion
That concludes my summer-to-fall wreath recycling project. This was one of the easiest DIY fall wreath projects I’ve ever completed.
Remember, you don’t need to have my exact materials to replicate with style. Simply find yourself a nice green base wreath. Ideally, go for something with a little flow and movement.
Then add some golden or orange color leaf stems in clusters to give it a few pops of fall color.
Finally, add a sign to the center and you’re all set!
Here are a few more posts you may like:
- 7 Easy Decorating Ideas for Fall
- The Secret Recipe To The Perfect Fall Mantel
- 6 Trendy Fall Decor Color Combos
If you enjoyed this post, please share it with a friend and follow Dianne Decor on YouTube, Pinterest, and Instagram.
Don’t forget to join the mailing list before you go. I’ll send you a copy of my weekly newsletter filled with my latest posts, decorating inspiration, and sale alerts on home decor.


Ashley
November 6, 2023This is an excellent guide! I love to create my own things for the home, especially during the winter months. A lovely weekend project for us – thanks.