
DIY Mini Forest Christmas Decor
The holiday season is right around the corner and holiday home decor is everywhere.
Moreover, crafting decor is all over the place. There’s no better season for DIY decor than Christmas. I decided this was the perfect time to try to create a DIY mini forest.
My biggest challenge over the years is the transition from Christmas to the winter season after Christmas. Once all the twinkling lights and garland and Santa-related stuff go away, the house looks bare and a little sad.
So, this year I wanted to go with a theme that would transition well into after Christmas and through to the springtime.
DIY Mini Forest Inspiration
Last year after browsing around Pinterest I found this photo adorable bottle brush forest. I thought it was the perfect little kitchen decor item that would last through Christmas.
But, the bottle brush set used in this DIY was sold out.
Unfortunately, I had a hard time finding an alternative set with large trees. So, I decided to put this project on the shelf and revisit it next year.
Once Halloween passed this year and I refocused my decor energy on Christmas decorating, the very first thing I looked for was this bottle brush set. And lo and behold, it was back in stock and on sale!
I grabbed two sets and a few other items and with it, I was able to create this awesome DIY mini forest Christmas decor for my kitchen.
Instructions for DIY Mini Forest Christmas Decor
To create your own DIY Mini Forest Christmas decor you’ll only need 4 items. A set of bottle brush trees, a tray with an edge, something to use for faux snow, and some tacky putty.
That’s it! This is a very easy DIY Christmas decor project that can be undone easily and packed away until the next holiday season. Or, you can leave it up through the entire winter season like I intend to do.
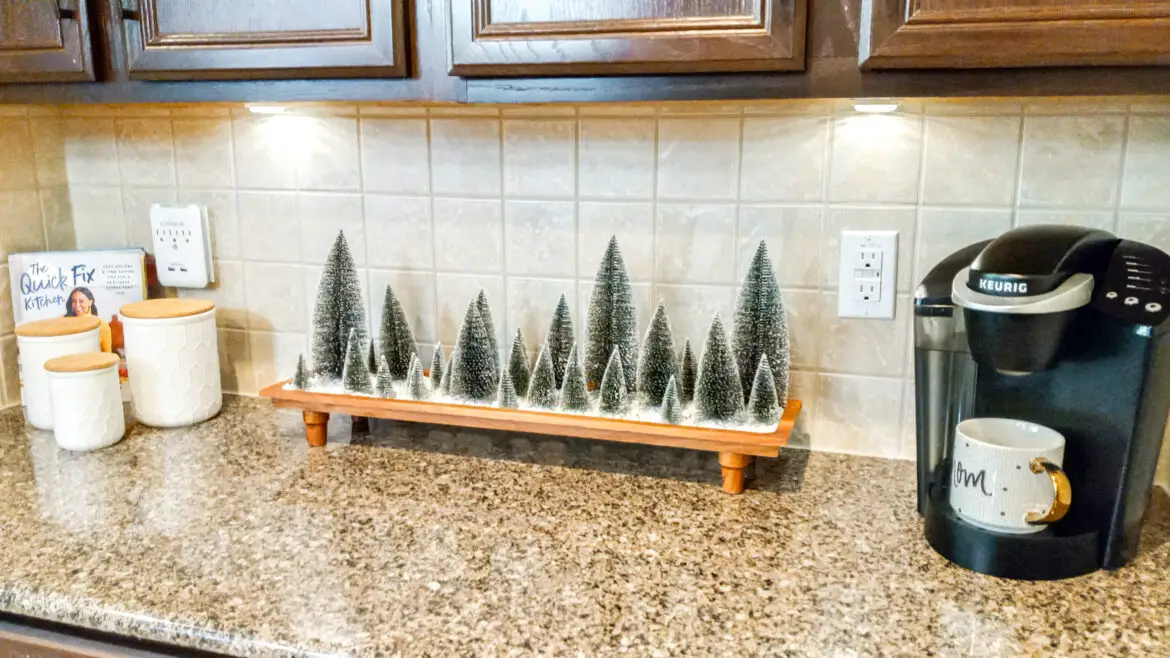
Quick note: I did purchase 2 sets of the bottle brush trees because my tray is so long. Approx. 7″ x 28″. I wanted to make sure that I had enough to create a nice full display. I ended up using a total of 28 trees in my main display.
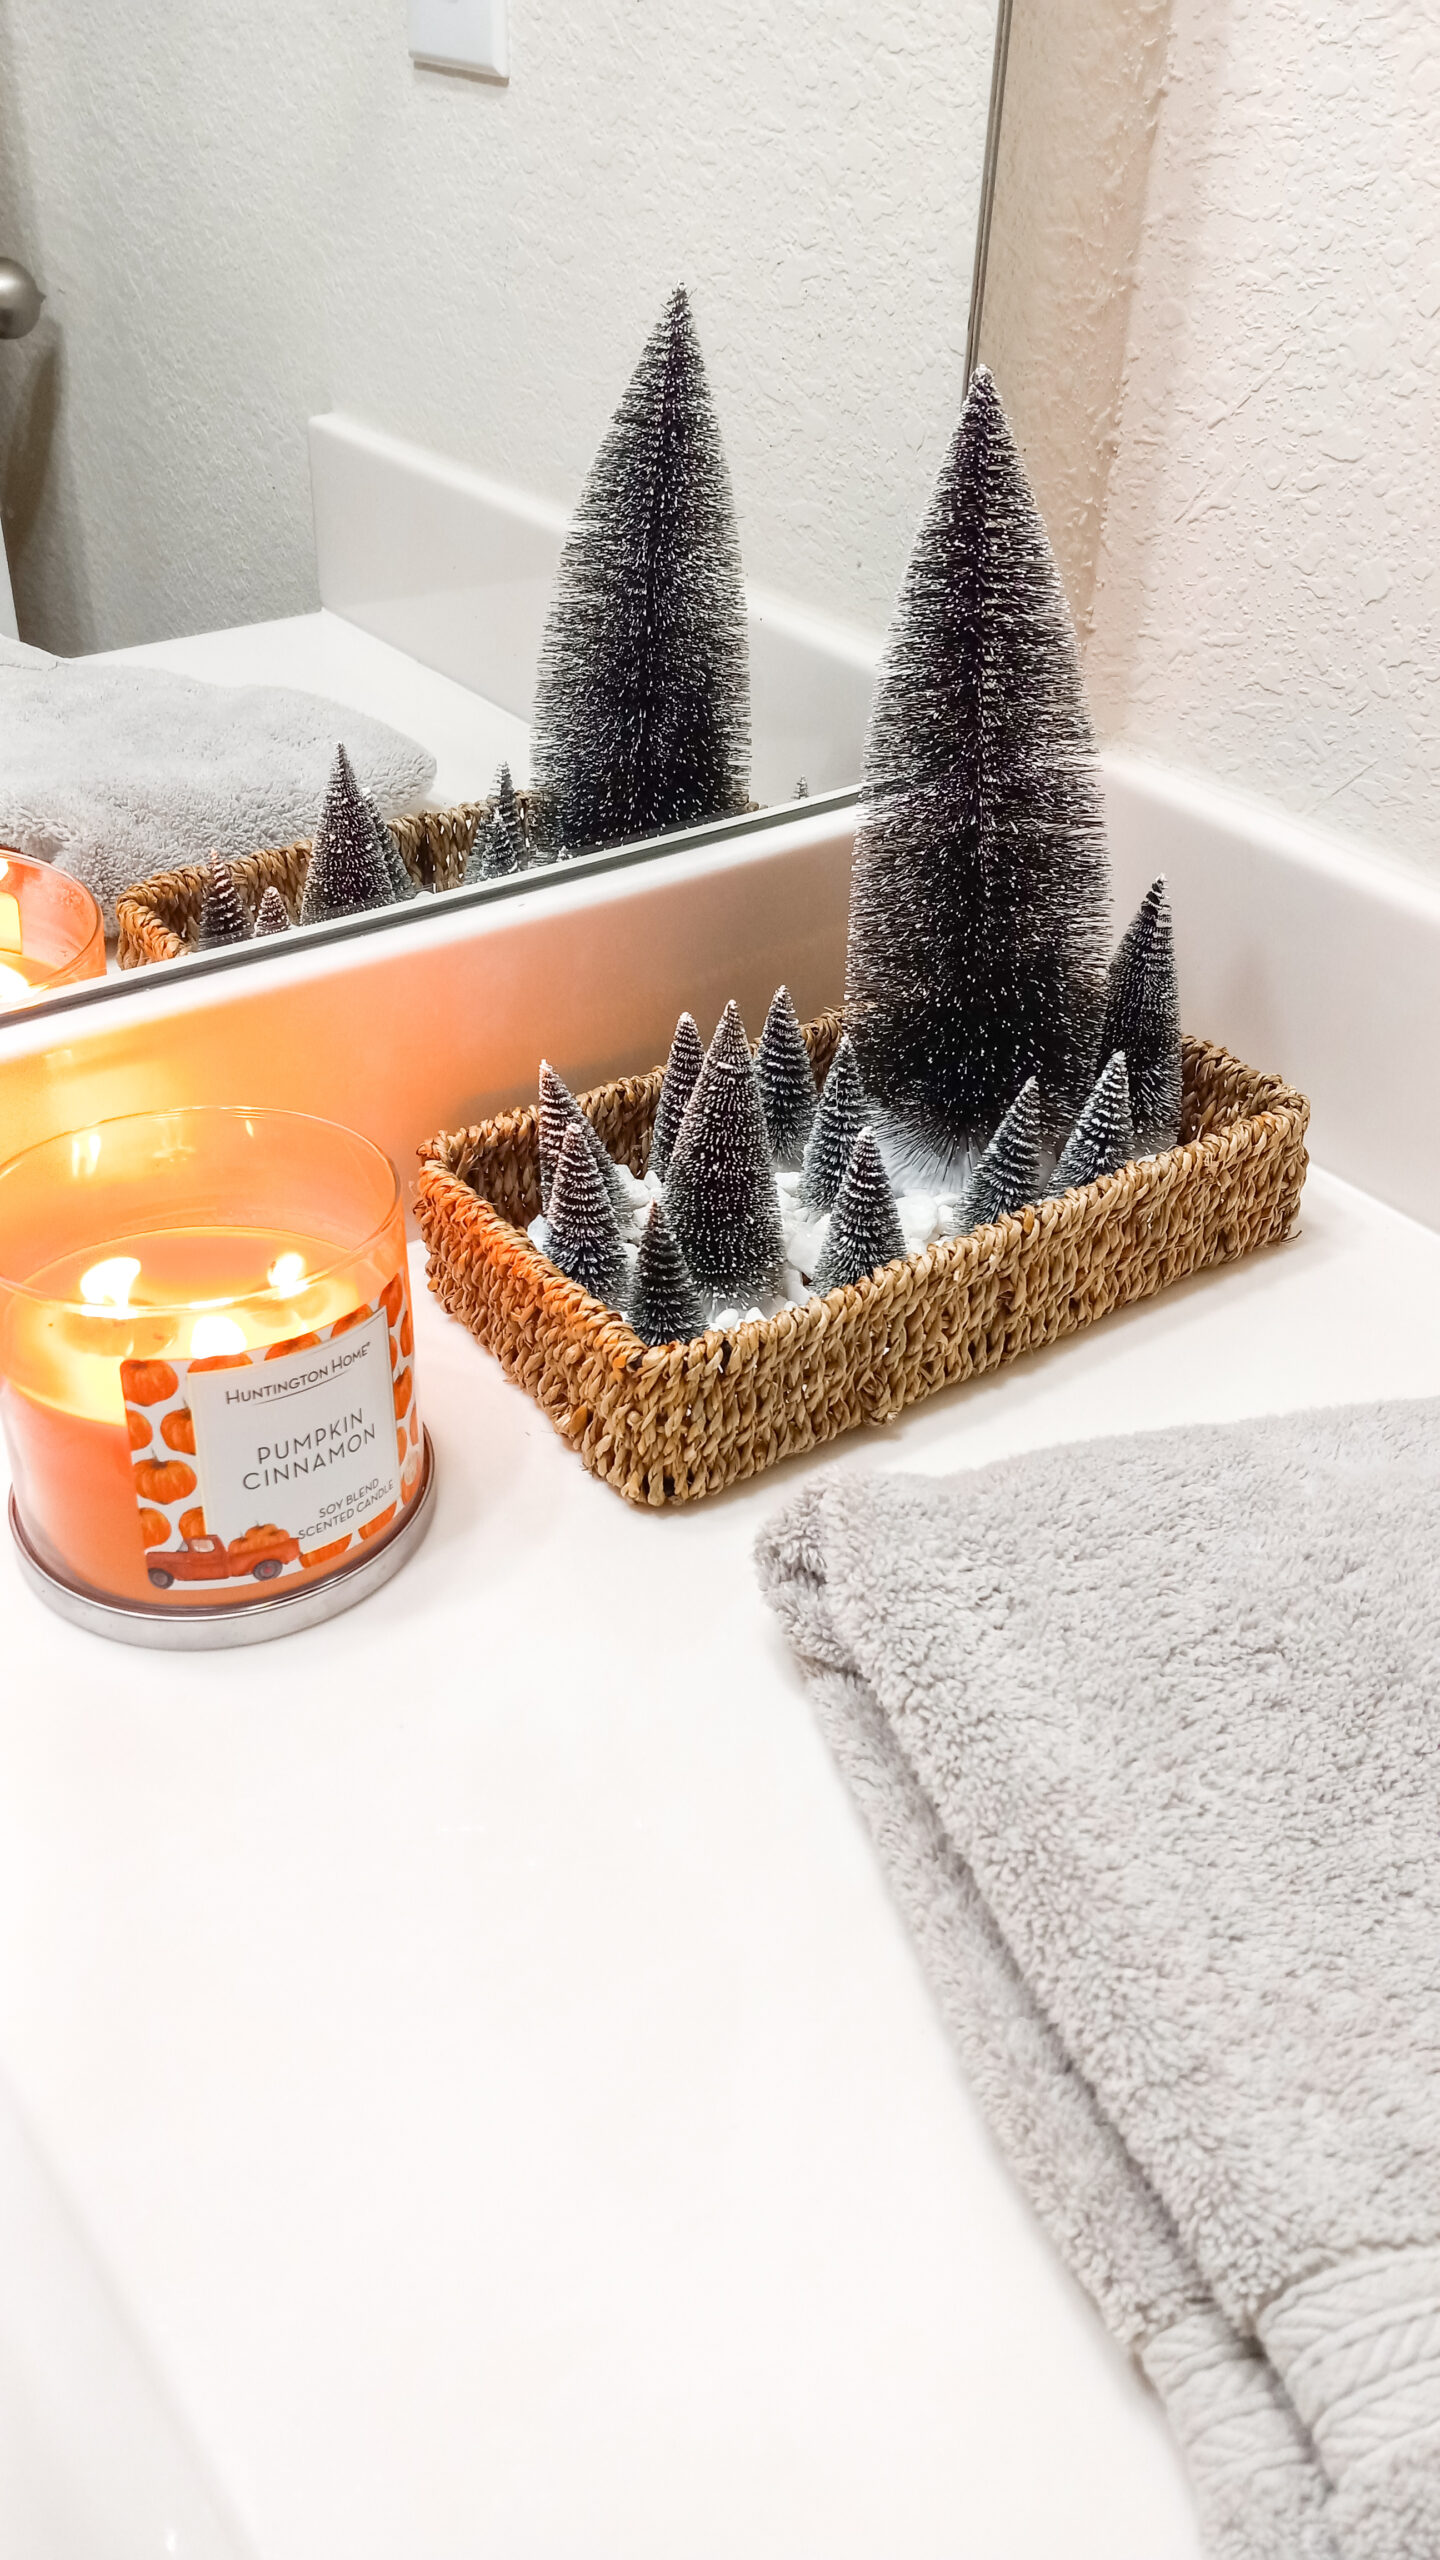
With the extras, I created another mini forest display with a small tray for my bathroom.
Here’s how to put it together.
What You’ll Need
- Lemax Mixed Pine Trees Set or (similar on Amazon)
- Aleene’s Instant Tack or (similar on Amazon)
- Tray
- White Decorative Filler Stone or (similar on Amazon)
Step-by-Step Instructions
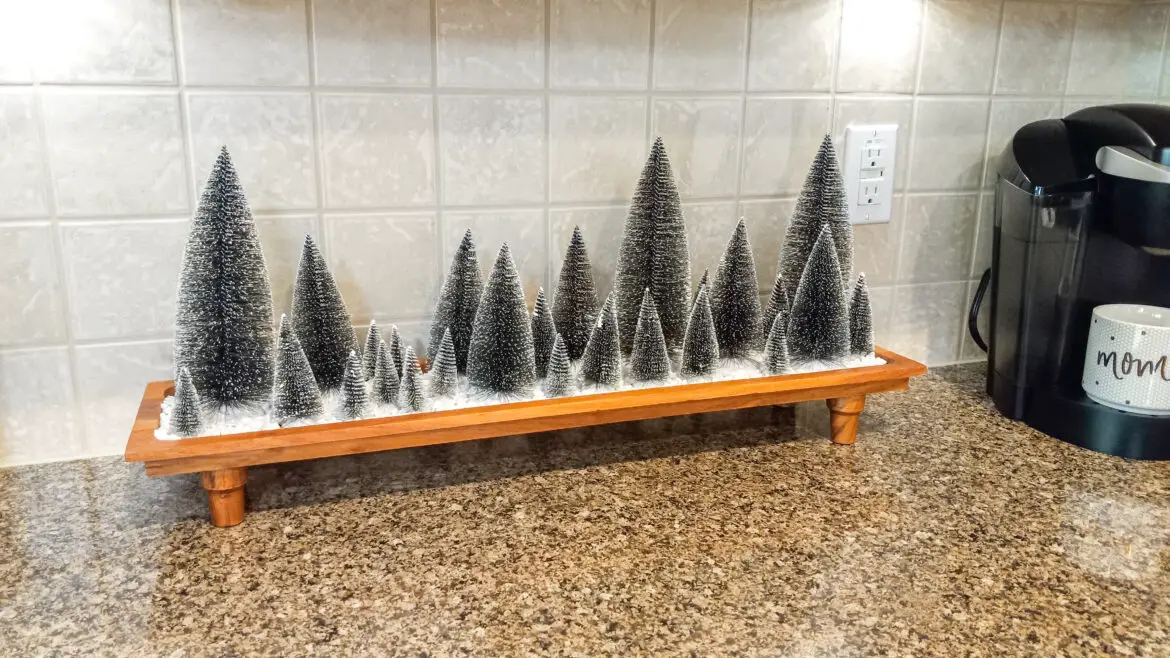
Step 1: Arrange your trees on the tray.
Create a good balance of tall and short trees on your tray.
Step 2: Secure trees with tacky putty
Once you’ve decided on an arrangement for your trees, secure each one to the tray by placing a bit of tacky putty on the bottom. Then press the tree base firmly into the tray until it sticks in place.
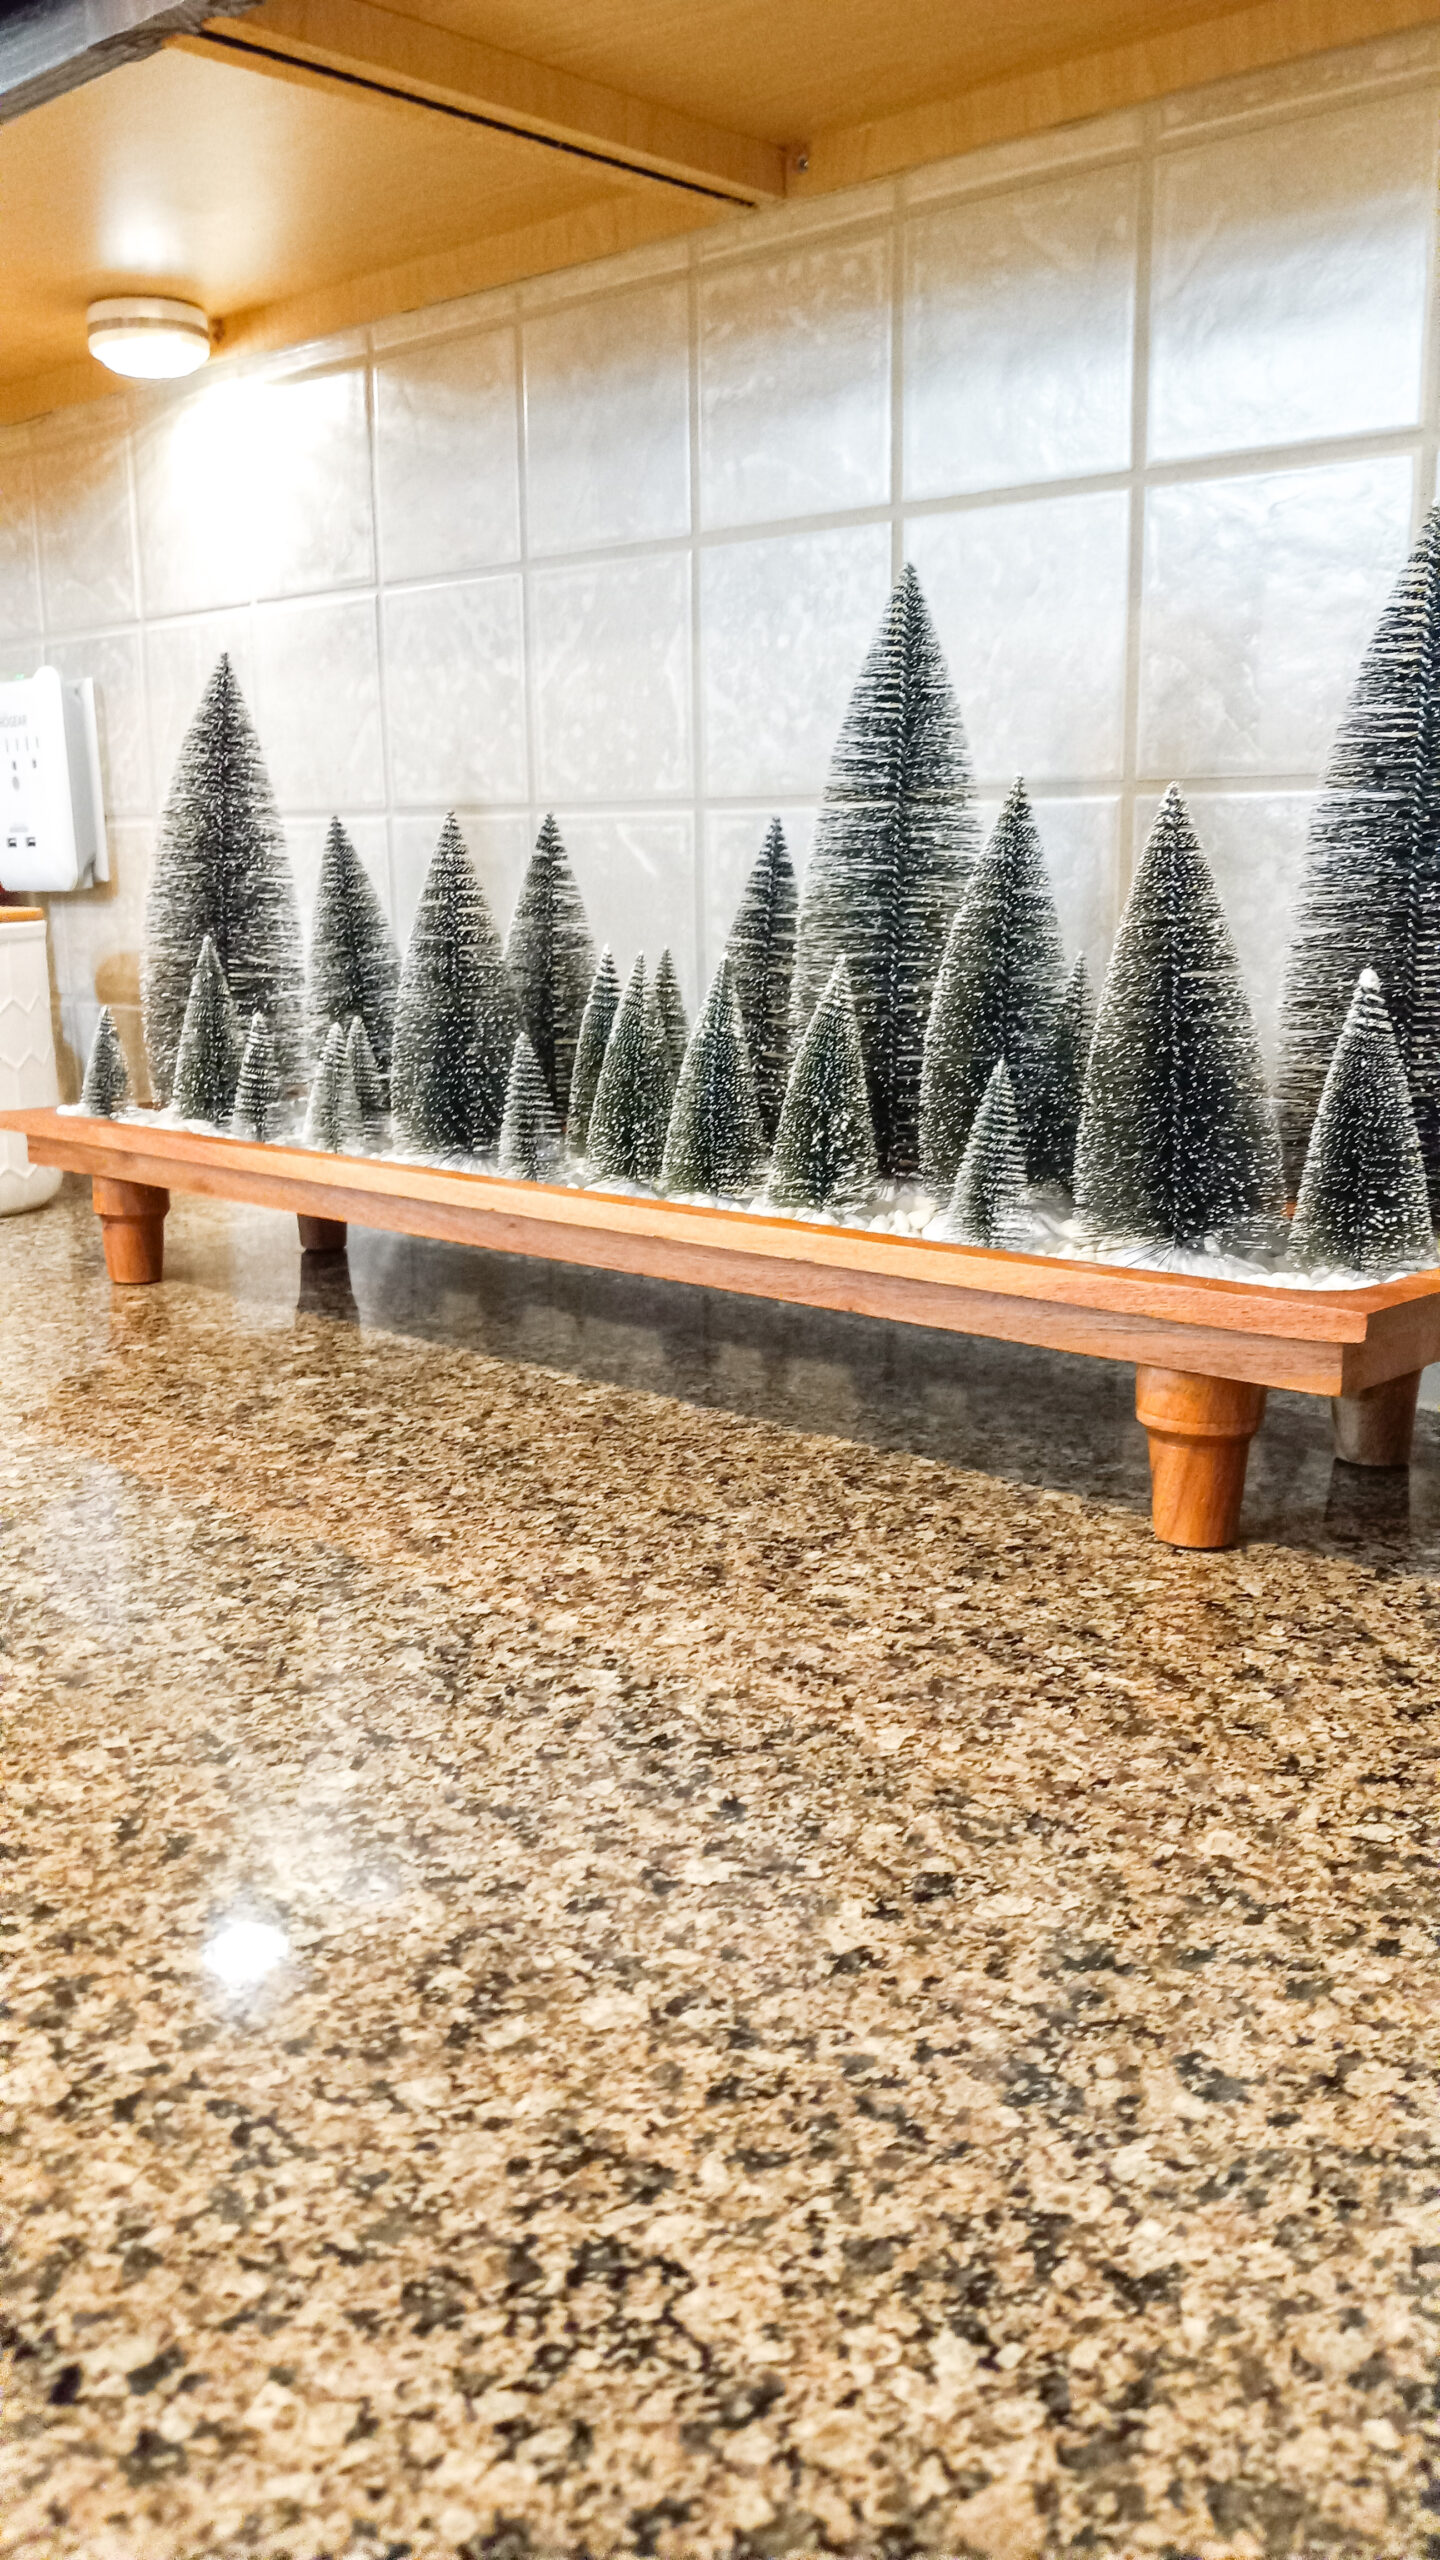
Step 3: Sprinkle filler stone
Sprinkle your white filler stone around the base of the trees and spread them out until you can no longer see the tray beneath.
Note: You do not have to use stones for this part. Use any temporary faux snow you’d like. Salt or white sand would work as well.
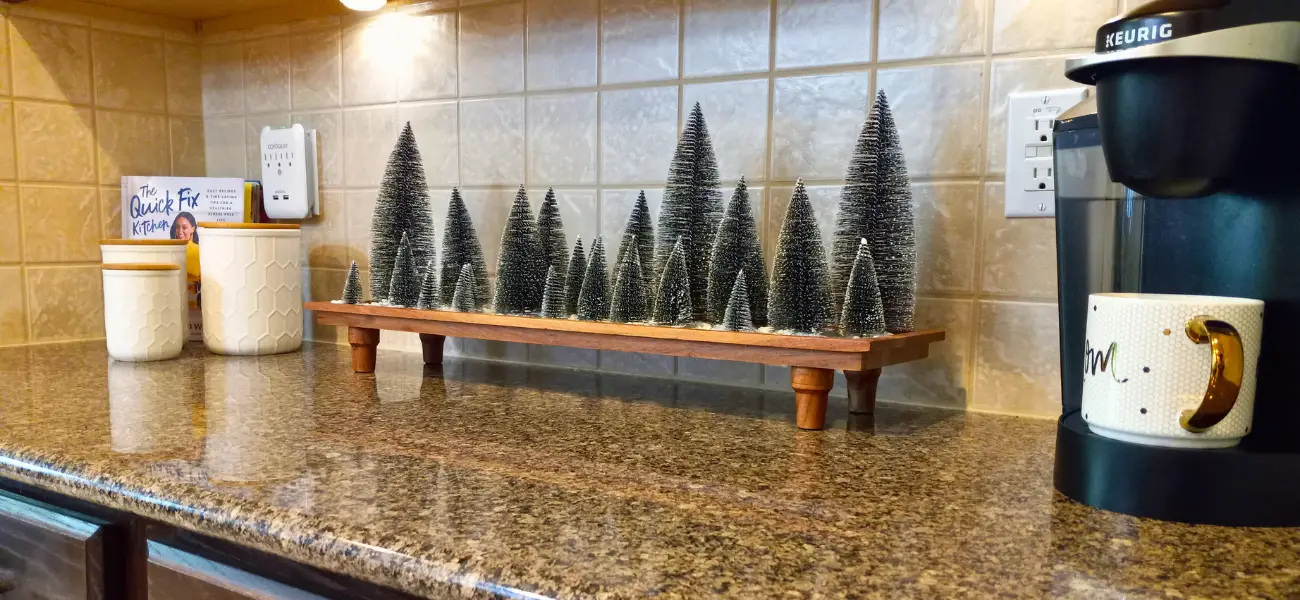
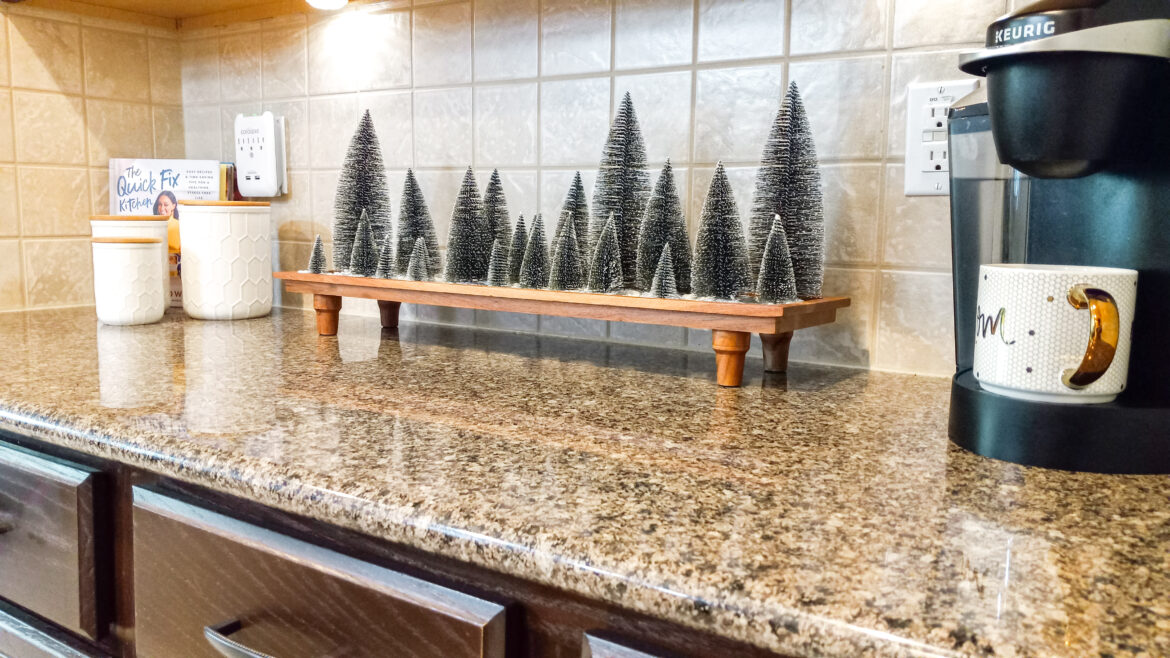
Final Results
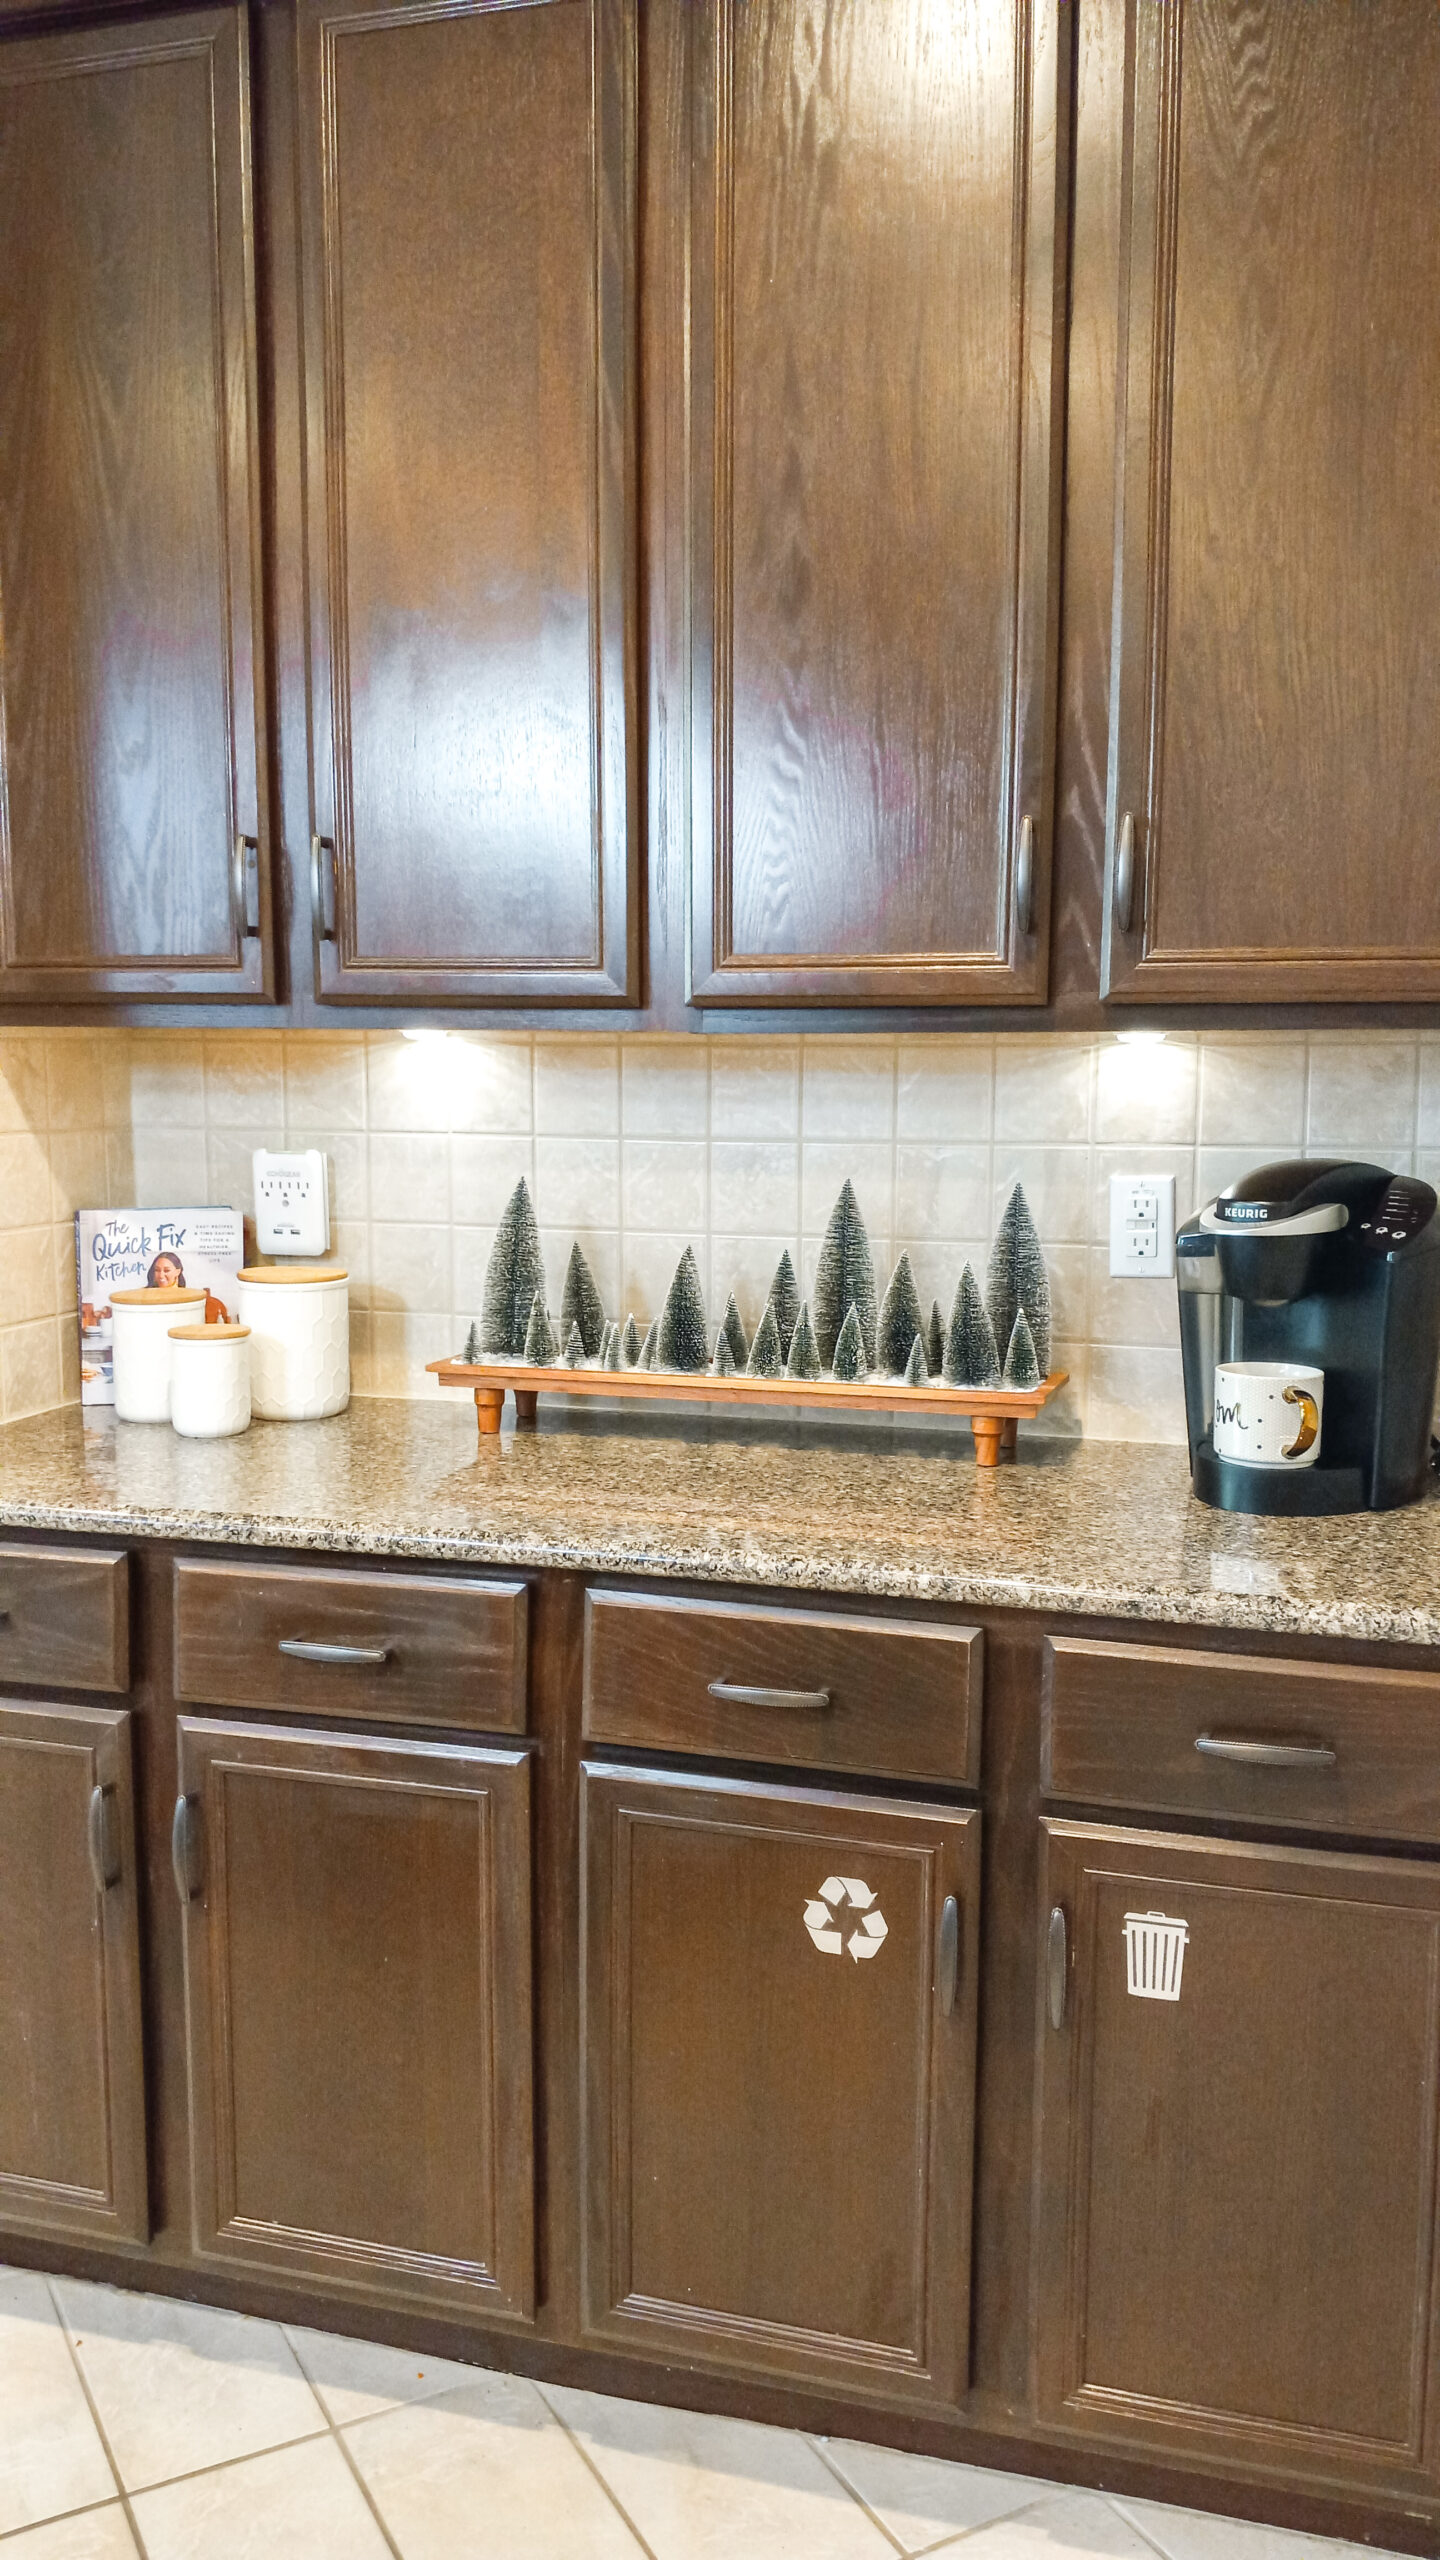
Here’s a look at my final results. I absolutely love this display. I currently have it on my kitchen countertop by my coffee maker.

Because I purchased 2 sets of the Lemax trees, I had some leftovers after filling my long tray. So, I decided to create another mini tray for my bathroom. Here’s how it turned out.
Conclusion
I hope you’ll try out this easy and inexpensive DIY Mini Forest project. It’s the perfect Christmas decor for your coffee table, kitchen island, dining table, or countertop.
Here are a few other projects you may like:
- DIY Christmas Kitchen Cabinet Wreaths
- Review: The Christmas Tree Hugger
- DIY Glam Holiday Embellished Candle Holders
Don’t forget to join the mailing list before you go. I’ll send you a copy of my weekly newsletter filled with my latest posts, decorating inspiration, and the best sales on home decor.
For more from Dianne Decor, you can find me on YouTube, Pinterest, and Instagram.


