
3 DIY Decor Projects You Should Skip
To DIY or not DIY… that is the question. Over the years I’ve learned to temper my enthusiasm for DIY decor projects.
While I absolutely love the idea of recreating amazing decorative accents myself, I’ve found time and time again that there are some projects that you’re just better off buying.
In this post, we’ll first talk about how to evaluate your next project to see if it’s a DIY worth the effort. Then, I’ll share 3 DIY decor projects that I don’t recommend trying and why.

How to Evaluate Your DIY Decor Projects
Skillset
The first thing to consider when you see a DIY decor project you’d like to try is the skillset required to complete the project.
While I consider myself to be pretty versed in DIY wreaths and other small decorative items, I have found, this skillset does not transfer well into woodworking.
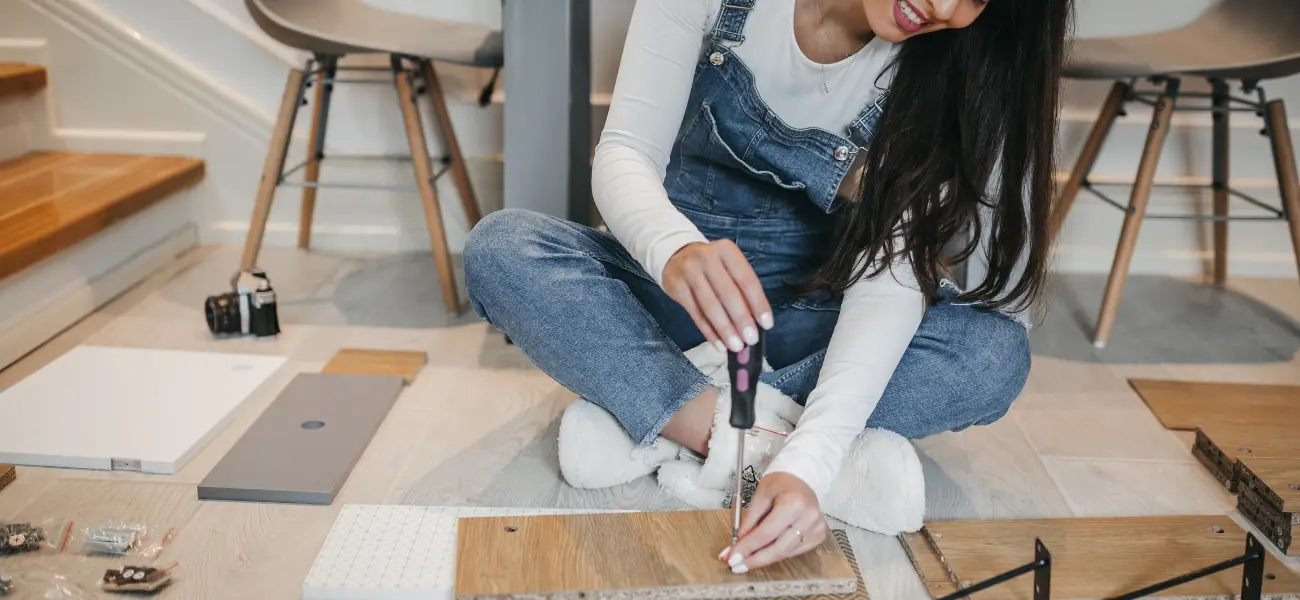
When I attempted to assemble a console table earlier this year, I realized just how many basic woodworking skills I didn’t have.
I was shocked to find out just how much I didn’t know about properly sanding and staining furniture.
Tool Availability
Have you ever started out following a $20 DIY decor tutorial only to find that it actually costs you $45 in the end? If you said yes, you’re not alone.
It all boils down to the tools you have available at home.
Most bloggers don’t factor in all the tools needed to complete the project. They may mention the cost of paint, but neglect to tell you the cost of the paintbrush because they already had it on hand.
But if you don’t have everything they have on hand, your project will cost you more to complete than theirs.
Common things that are often omitted from the tally are brushes, glue, hot glue gun, ribbon, markers, circular saws, sandpaper, jigsaws, drop cloths, and floral wire, just to name a few.
So, before you begin, take inventory of the tools you have and the tools you’ll need to buy.

Cost
Doing it yourself won’t always save you money.
Worse, you may spend more and end up with a product of inferior craftsmanship. Trust me, I know! My spray painting skills need some serious work.
But, I digress… the reason why some items are just cheaper to buy is that manufacturers are able to obtain the raw materials for significantly less money than regular consumers.
For example, the cost per foot of rope is going to be higher for someone who is just buying 2 feet versus someone buying 500 feet.
Buying in bulk will always give you the best price.
This is the basic premise of going to stores like Costco and Sam’s Club. But, if you don’t have a need for 500 feet of rope, you won’t buy it. Instead, you’ll have to pay a premium price for a small amount.
Time
Most who endeavor into DIY decor projects are doing so to save money. DIY home decor is a huge part of my overall decorating on a budget strategy. Others, of course, just enjoy creating something original and unique.
If you’re in the former group, like me, you have to consider the amount of time it will take you to complete the project. When you buy home accents that are already manufactured and ready to go, you’re paying for that labor.
When you opt for a DIY over pre-made, you’re banking on the fact that you putting in the labor/time instead of paying someone else to do it will save you money.
But you have to ask yourself, how much is your time worth? Is it really worth it to spend 10 hours creating something to save $50?
If you’ve tried a project or 2 you’ll know that any new craft that you’ve never done before will likely take you twice as long as someone who’s done it multiple times before.
That perfectly looped, fluffy, bow that you saw someone create on YouTube in 30 seconds to top off her wreath… expect it to take more like 5 minutes or more if you’ve never done it before.
Not only is that, put into consideration that the video tutorial is likely sped up in the final production.
And, it’s unlikely that the end product shown in a tutorial was the first take, so to speak. That creator may have made the bow 3 times before she found a version she liked.
So, remember to consider these types of things when you’re estimating how much time a project will take you to complete.

3 DIY Decor Projects You Should Skip
Over the past few years, I have tried and failed at so many projects, I’ve lost count. The best thing that has come out of all of that trial and error is the ability to spot trouble before I even begin.
It has helped me to know when I’ll need to modify a project and when to steer clear of one altogether.
Here are three projects I’ve recently considered, but ultimately decided to skip and why.
1. Tinted Glass
Have you ever seen those beautiful aqua colored glasses and vases?
I really love the look of them. In 2019 there was nothing I wanted more than to figure out how to DIY a bunch of Dollar Tree’s vases into aqua-tinted versions of themselves.
I considered window film, watercolor, transfer paper, and a few other options to tint the glass. Finally, I found a tutorial for DIY Vintage Mason Jars on onegoodthingbyjillee.com.
She transformed regular mason jars into these gorgeous colored jars.
But as I read through her method I realized this project was a non-starter for me. Not only would I need to spend $20 on special glass paint supplies, but I’d still have to buy the actual jars.
I wouldn’t be able to use the cheap Dollar Tree vases because Jillee’s method involves putting these in the oven. So from the start, I’m limited to how I can use these in my home once they’re complete.
Then, I’d have to follow a very time-consuming method of coating the inside of the jars, setting them upside down on a rack to drain the excess paint, putting them in the oven for 40 minutes, then leave them in the oven to cool completely.
All of these things combined led me to the conclusion that this is one of those DIY decor projects I should skip.
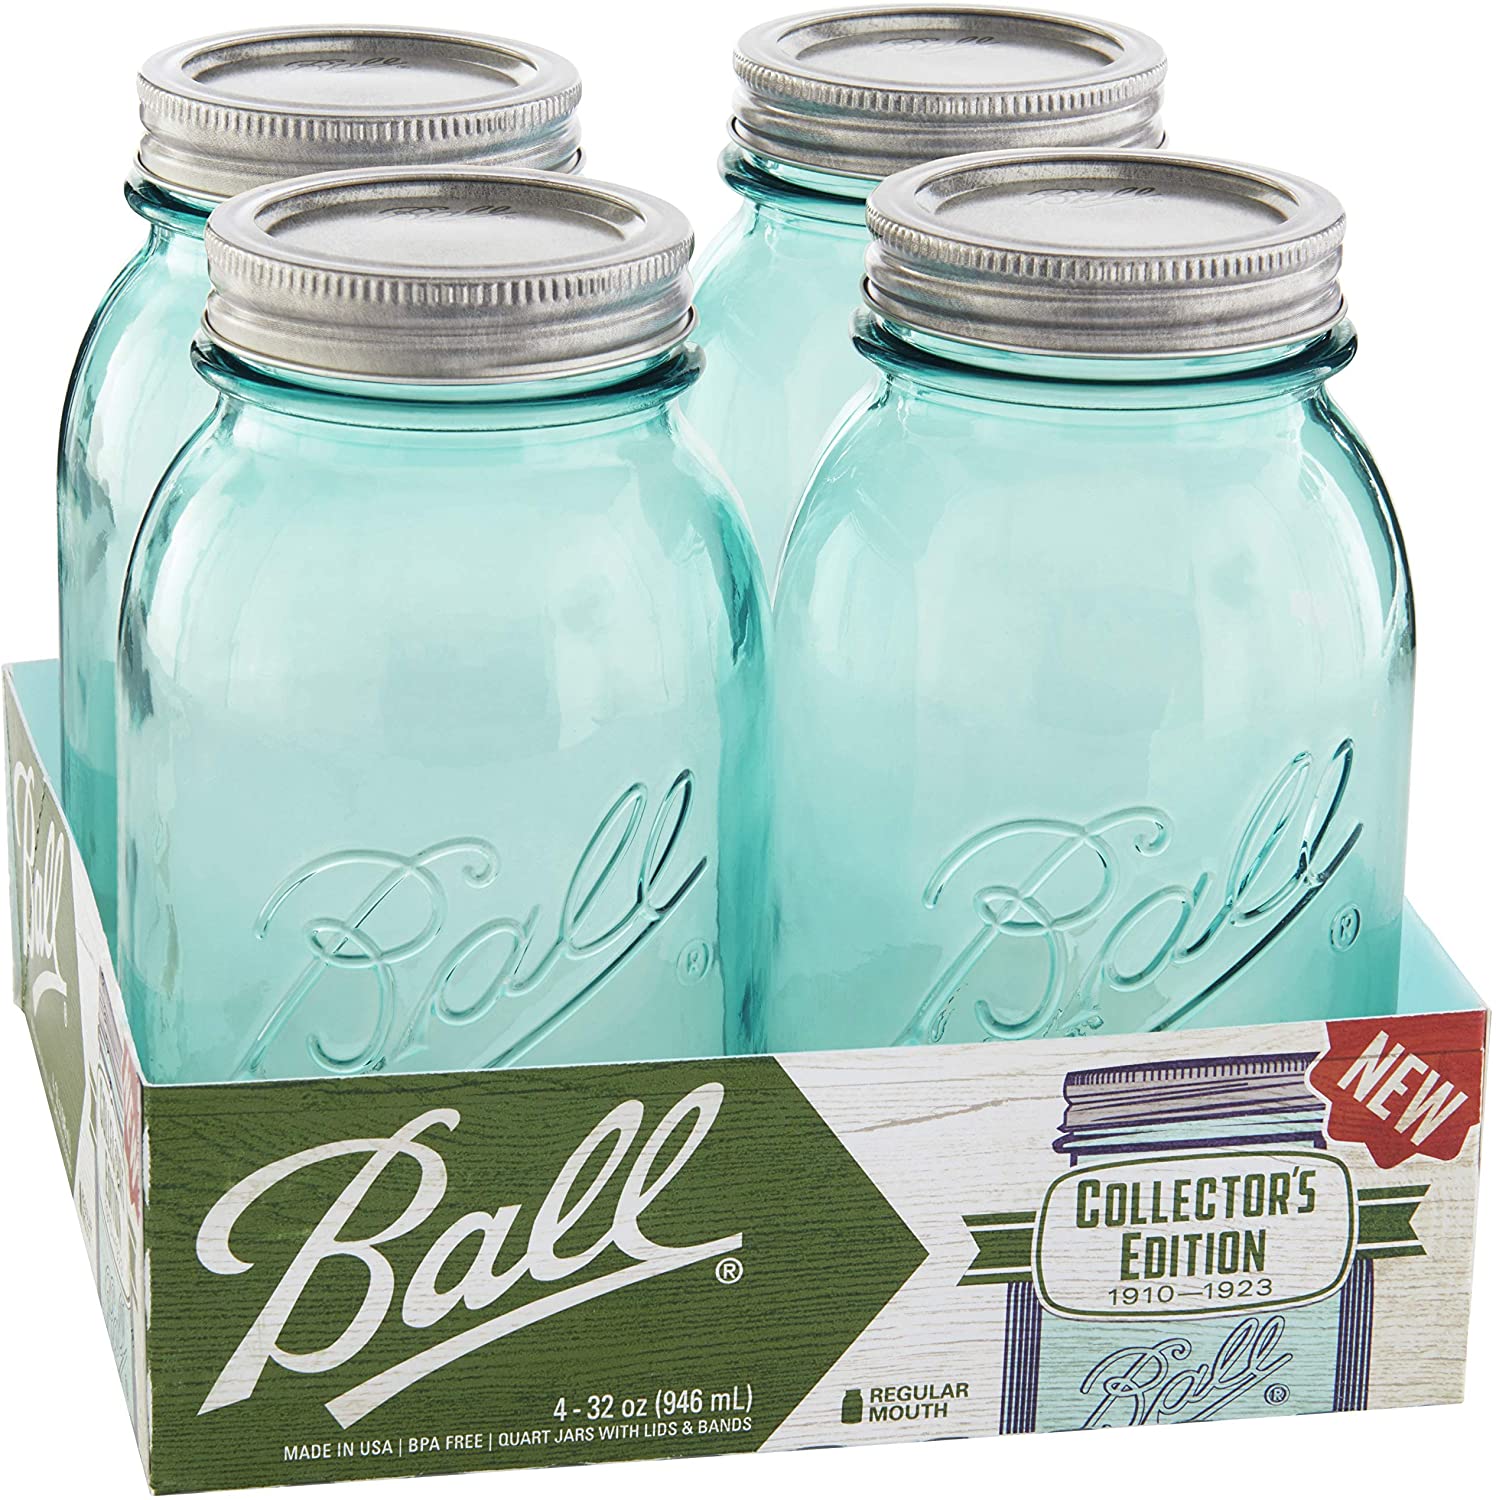
Moreover, you can buy a set of tinted mason jars just like this in a 4 pack for $22. So for me, it’s just not worth the effort.
2. Mirrored Mosaic Wall Art
Next up is mirrored mosaic wall art.
At this point, I’m just going to break down and buy something because I cannot figure out how to make this project affordable and quick.
I want a large, oversized mosaic wall art piece. Something around the size of 24″ x 36″ or even 36″ x 48″.
I fell in love with a piece from Pier1 that is no longer available (image below).
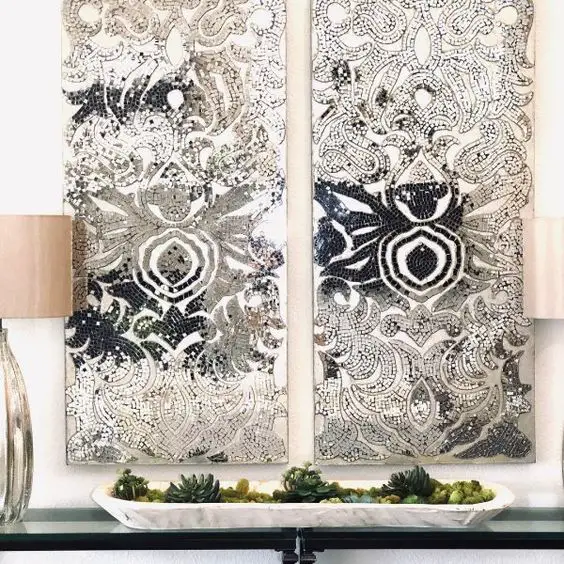
This particular decorative accent was very popular. It was all over Pinterest and Instagram and I was hoping to figure out a way to DIY it.
Although I did find something similar on Etsy, the price is quite high and I now know why.
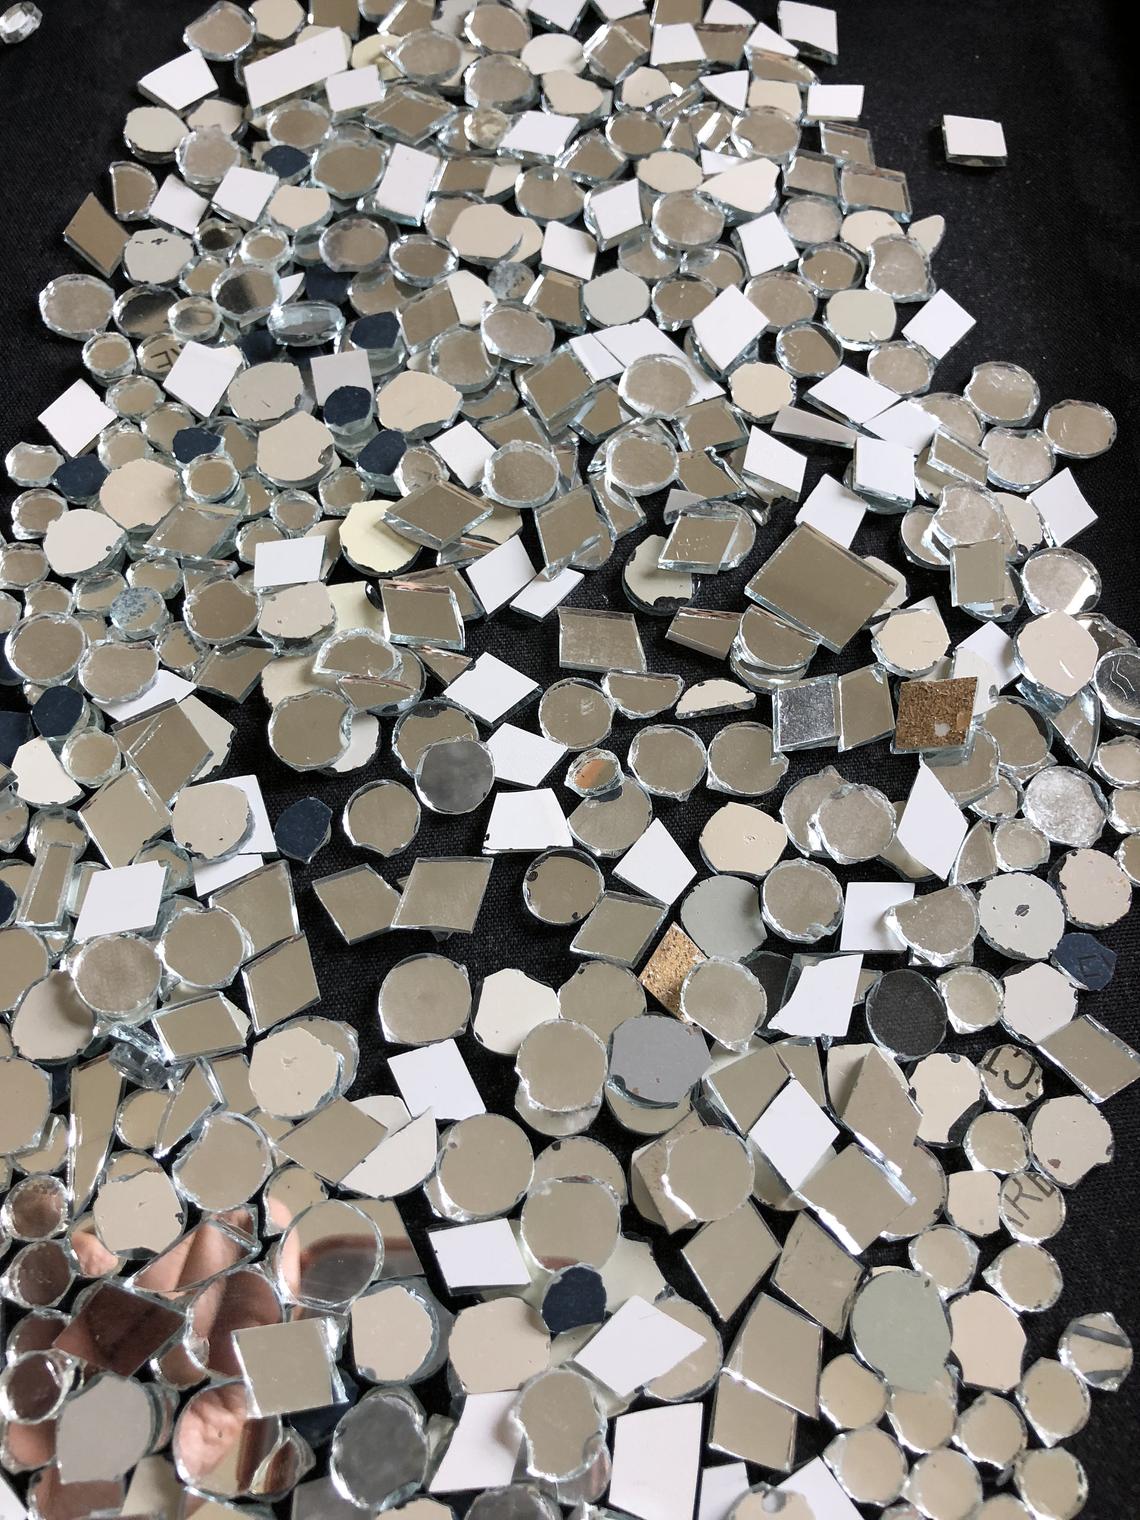
Not only is this incredibly time consuming, but you’d need a lot of mirrored mosaic tiles to pull off a design like this. Likely, thousands.
If I were to opt for the mirrored mosaic sticker tiles instead of actual glass tiles, it may speed up the process of creating the design, but I question whether or not they would hold onto the canvas in the long run.
I can reinforce them with superglue, however, if I’m going to do that I might as well just buy the real glass or thick plastic mirror tiles.
But I digress, it’s not worth the time, effort, or money to DIY this project.
Between the material, the labor, and coming up with some type of amazing pattern, it would take weeks to create. I think I’d rather just pay the $150 dollars.
But, if you have an idea for how to do this project quickly and for under $75, please let me know in the comments below.
3. Jumbo Coiled Rope Basket
Finally, the jumbo coiled rope basket is a project I completed, but don’t recommend. While creating a coiled rope basket is incredibly easy, the nice, luxe-looking, jumbo coil rope is expensive.
Moreover, you need a lot of it to make a large basket.
Initially, my intention was to create a large coiled rope planter basket. I wanted to put an artificial tree in it.
Finding the rope I wanted was the first hurdle. I didn’t know what it was called.
However, once I did find it (cotton twist rope not jute rope) I thought I was home free.
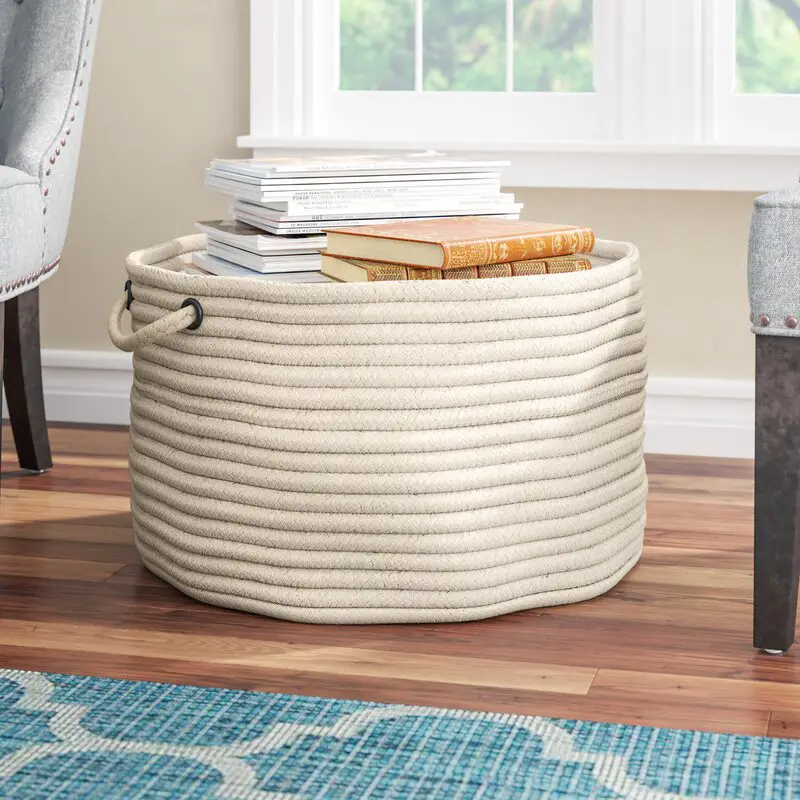
It was only $4.99/yd at Joann. That seemed like a reasonable price to me. I figured I could make a dupe of this basket (below) from Wayfair for like $25.
I thought wrong. Very wrong.
I’m glad I at least had the sense to go into the store to purchase instead of trying to buy online. Because here’s what happened…
The sales associate brought the big spool to the fabric counter and started unspooling the rope to my requested 3 yards. When I saw how little that actually was I started to question whether or not I could actually wrap an entire planter basket.
So I said… “maybe 2 more yards”, then “maybe another 2”, then, “let’s just add 1 more yard to be safe”.
I went in thinking I would need 3 yards and came out with 8. I used a coupon but still ended up spending over $30 for the rope.
First Attempt
Following this very basic tutorial from the OWN Network I started to wrap the rope around the basket and knew instantly this wasn’t even close to enough rope.
Second Attempt
So, on to plan B. I would make a smaller basket. A very small basket for a countertop or shelf would still be cute.
I started again with one of those little wire mesh baskets from Dollar Tree. I STILL didn’t have enough rope to coil the bottom and the sides.
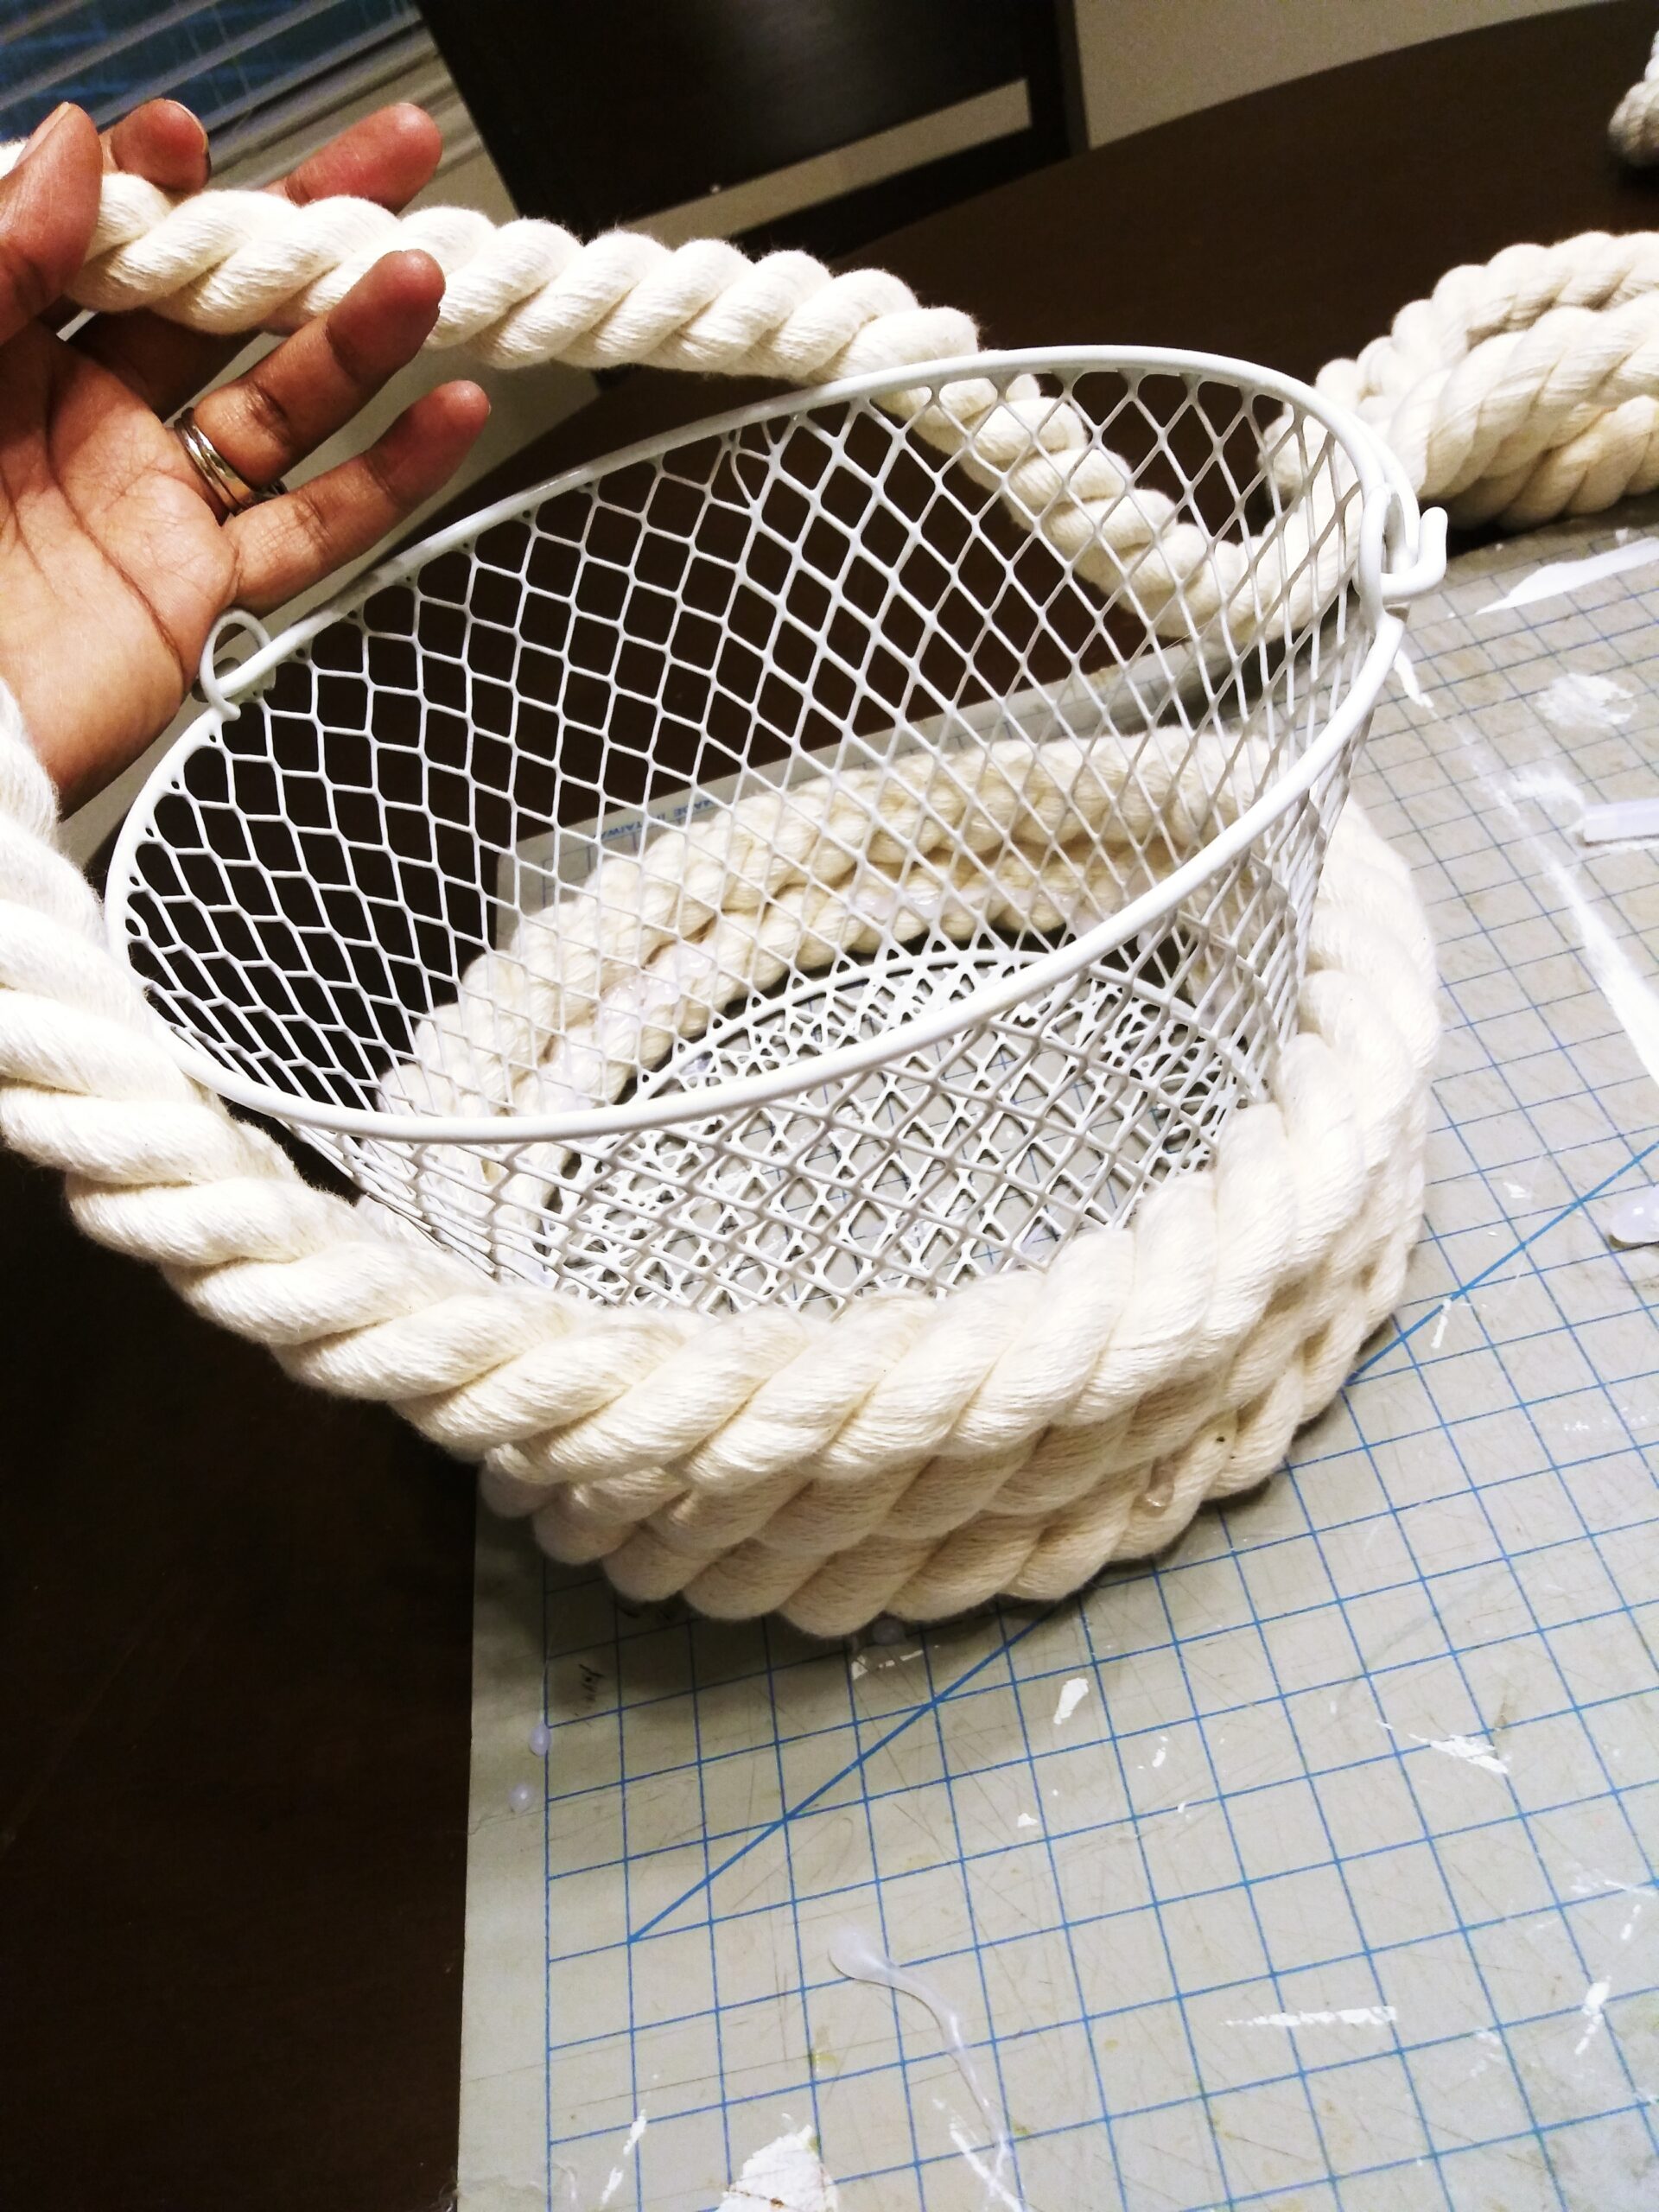
Third Attempt
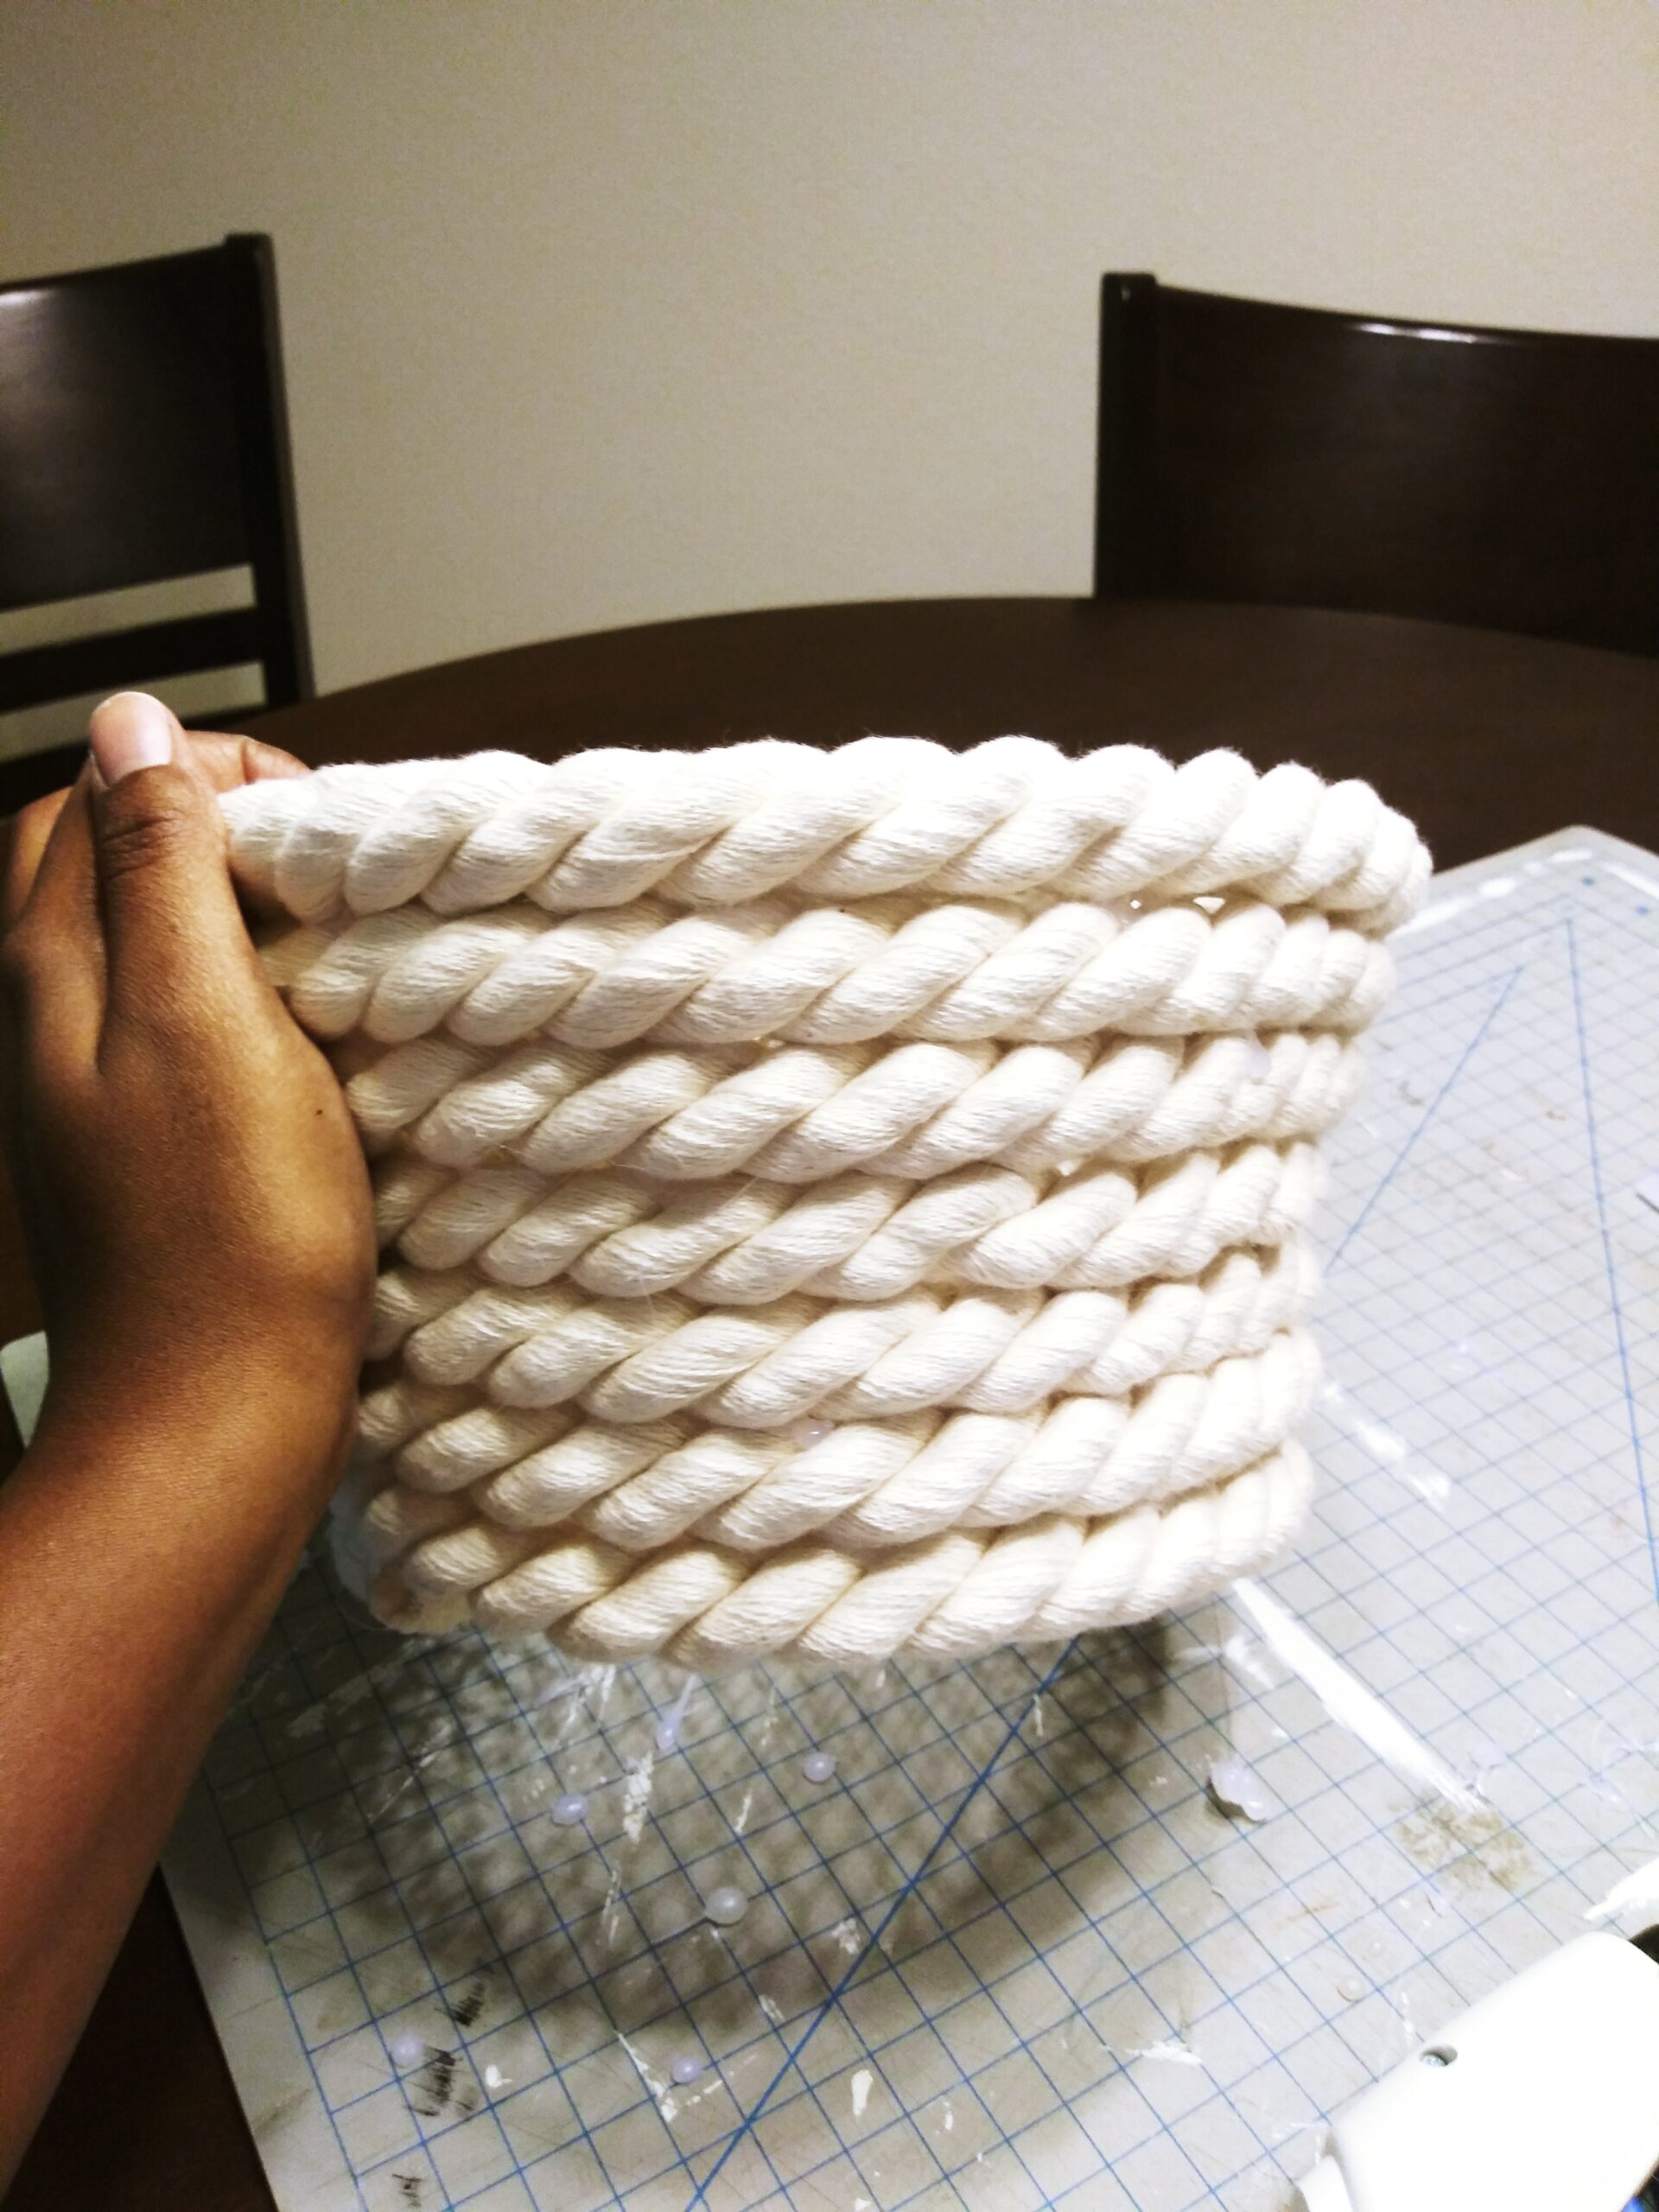
So, on to plan C. I would just coil the sides. No one was going to see the bottom anyway, right?
I planned to put a faux floral arrangement in the basket. But you know what doesn’t work well together. Floral foam and an open wire basket.
I always use floral foam to keep my arrangements set in place. Unfortunately, little bits of green foam kept falling out of the bottom of the basket because it was still open mesh because I didn’t have enough rope.
So I got rid of the foam, but then the stems were falling through the basket and the flowers were flopping around.
Finally, I gave up and used it to store extra rolls of toilet paper. Hahahaha!
So, I implore you to think twice before attempting this type of coiled rope basket. Regular jute rope is cheap, but if you want that nice, white, cotton rope and you want to build a large basket, just buy one instead.
You won’t save any money creating it yourself, unfortunately.
Conclusion
Which DIY decor projects have you decided to skip? I’d love to hear about them in the comments below.
For more from Dianne Decor, follow me on Bloglovin’, Pinterest, Twitter, and Instagram.
To have my latest posts delivered directly to your inbox, join the mailing list before you go. I’ll send you a copy of my weekly newsletter filled with weekend reads, decorating inspiration, and the latest decor deals.


