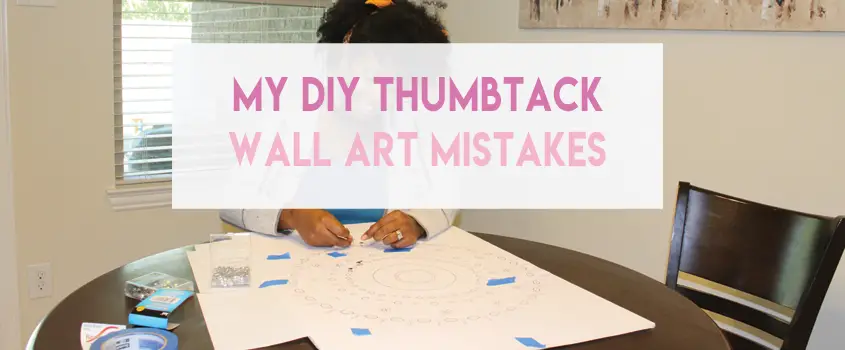
4 Big DIY Thumbtack Wall Art Mistakes
FTC Disclosure - This post contains affiliate links and I will be compensated if you make a purchase after clicking on my links.
*Item received for free for promotional consideration or a sponsored link.
DIY thumbtack wall art has been popular for quite some time. It’s a cheap, easy, beginner-friendly DIY project (or so I thought).
In a nutshell, you’re just pushing thumbtacks into foam board and creating a pretty pattern. Then you hang it on your wall.
It’s not brain surgery, right?
Well, it’s exactly that type of attitude that turned this 2-hour project into a 2-day project for me.
In this post, I’m going to tell you about the 4 big DIY thumbtack wall art mistakes I made and how to avoid them.
DIY Thumbtack Wall Art
Before I jump into the mistakes, below is a look at my finished project.
I really like it. But, it was way more involved than I thought it would be.
When browsing around Pinterest for pattern ideas, I found that there were very few examples available.
Almost every DIY thumbtack wall art project I saw was either a chevron zig-zag pattern which frankly, is a little dated for 2019.
Or, a series of dissolving gradient-type lines.
Don’t get me wrong, they’re both nice styles, but not what I wanted.

I really wanted something unique.
I didn’t have the confidence or the patience to draw a pattern freehand. So it took me a while to figure out how I would create a large template.
First, I thought of hiring someone on Fiverr to create line drawings for me.
While searching for contractors, I started seeing service listings for adult coloring book pages and mandala graphics.
This appealed to me very much.

In fact, I’d seen adult coloring books at Dollar Tree the week prior. So I went back and grabbed one.
I chose a pattern, scanned it into my computer, edited away to extraneous lines in Photoshop, and voila, I had my template.
The coloring book pages were only 8.5 x 11 inches, so I needed to enlarge the modified graphic to fit the size of my foam board.
Here’s where I made my first mistake.
Mistake #1 – Printing Your Thumbtack Wall Art Template
The Mistake
In order to enlarge and print my own pattern, I needed to break the design into multiple pages.
This method worked, but there were two important details that I didn’t pay enough attention to and they turned out to be a big mistake.
Firstly, DO NOT USE THE FIT TO PAGE OPTION in your print settings.
I accidentally did this for a few of the pages and the design was out of scale in certain segments. It created a lot of confusion when I tried to piece it back together.
The design wouldn’t line up properly and it was a big headache.

Secondly, I failed to number the pages so that I could reassemble them easily.
I figured the circular pattern would be easy enough to piece together. But, it wasn’t.
There were inner circles and outer circles to align along with a bunch of other tiny dots and details. If they had been numbered I could have lined them up easily.
So, don’t do as I did. Add a little number to each page so you don’t have to guess. I also had to trim down all of the pages because borderless printing is only an option when you “fit-to-page”.
Solution
Get the enlarged pattern printed for you at Staples or Office Depot on one sheet.
Or, if you’re printing at home, number the pages and make sure you do not have the “fit to page” option selected.
Mistake #2 – Too Thin Foam Board
The Mistake
Once I got over the hurdle of assembling the template I started adding my thumbtacks right away.
Now, my strategy was to only push the pins in halfway. This would allow me to later tear the template paper away leaving just the pins behind.
Then, I would push them in the rest of the way and be done.

This made perfect sense in my mind. So I proceeded to spend an hour and a half tacking my pins into the board halfway.
Then, when I was rotating the board on my final pass around the design I pricked my finger. I flipped the board over to find that every single one of my tacks was coming through the back of the board.
And they were only partially pushed in at this point! I couldn’t believe it.
The board I purchased from Dollar Tree was way too thin for this project. I should have doubled up on them or purchased a thicker board from a craft store.
I figured because I’d be mounting this into a picture frame that already had a cardboard backing I’d just use that as my secondary board.
This worked out just fine in the end. But, the issue could have been avoided had I checked the thickness of the board against the length of the tacks before pinning over 500 thumbtacks.
Solution
Double-check your foam board thickness. Use a foam board that is at least 1/2″ inch thick.

Mistake #3 – Too Thick Printer Paper
The Mistake
The next issue I ran into was actually removing the template from under the tacks.
I assumed the printer paper would tear away effortlessly. I was wrong. It pulled up the tacks.
No matter how carefully I tried to rip it, the tacks kept coming up. Most likely, the fact that they were already punctured straight through the thin foam board played a role in this.
They weren’t tightly secured into the foam and pushing them all the way in making it impossible to tear the paper from beneath it.
At this point, I threw in the towel and called it a day.
The next day I tried to brainstorm ideas for how to remove the template without having to remove all of the tacks.
Although I knew the tacks had left holes that I could use to know where they should be replaced, I didn’t want to have to create this pattern all over again.

Sadly, my brainstorming session came up empty. In the end, the only solution I could reach was to remove and then replace the tacks.
I pulled up everything and used the holes the thumbtacks had created as the new template and started again.
Solution
Print your template on the thinnest paper you can find, like tracing paper or light weight printable vellum. This will give you the best shot at succeeding with the tear away method. Or, just use a puncture tool to make pilot holes with the paper template in place. Then, pull up your template and place the thumtacks everywhere you’ve created a pilot hole.
Mistake #4 – Not Checking the Pattern Alignment In The Frame Before Adding the Thumbtacks
The Mistake
I knew that making this project look like a nice piece of art would require some type of frame.
Foam board edges alone were not going to cut it. I had an old frame that I picked up from Goodwill a couple of months back that I thought would work.
So, before I started the project I casually held my foam board up to the front of the frame to make sure it would fill it out. I didn’t take any measurements. I just eyeballed it.
Without a doubt, I could see that the foam board was bigger than the frame, so I knew there would be no trouble filling it out. I would just need to trim it down to size in the end.
Well, when I got to the end, I realized that my pattern of thumbtacks overlapped the edge of the frame slightly.
This caused me to have to remove 3 – 4 tacks from each side of the design to get it to fit into the frame.
In the end, I didn’t have a perfectly centered circular mandala(ish) design. I had two edges that were slightly cut off. Yeah, I know. Stupid mistake! Again, don’t do as I did.
Solution
Cut your foam board to the size of your frame before you lay down your template. This way you can ensure your entire design will fit into view.

Final Thoughts
Overall, a DIY thumbtack wall art project is beginner-friendly and can be an easy process if you prepare for it properly.
All of my mistakes could have been easily avoided had I not approached this project with such a cavalier attitude.
There are also several alternative solutions to these issues, such as drawing your template onto your board or using transfer paper instead of printing.
But, for me, I didn’t want to have to go back and erase lines or worry about scuffs or graphite on my board.
Also, there are other things you could use to create a template.
I used Photoshop to modify the coloring book design because it was readily available on my computer. But, you can create a pattern from other things like poster graphics, wrapping paper, or by creating an original sketched pattern.
There are a lot of options, so don’t be afraid to think outside of the box.
I hope you found this post helpful. If you did please share it with a friend.
I’ve included a few posts below that you may like as well.
- 3 DIY Decor Projects You Should Skip
- DIY Glam Holiday Embellished Candle Holders
- What To Put In A Guest Room Basket
Also, don’t forget to join the mailing list to have my latest posts delivered directly to your inbox.