How to Start a Home Decorating Blog
Starting a home decorating blog has been one of the most rewarding decisions I’ve ever made. It drives traffic to my online shop, helps me find like-minded people online, and is an amazing creative outlet.
Blogging also came with a lot of learning on the job. Frankly, a lot more than I ever expected.
For the past 10 years, I’ve been running my web design business from home. I’ve seen and built a lot of different types of websites and blogs for clients.
So, when I decided to pivot from web design into running my e-commerce website it was easy. I knew exactly what I was doing, I didn’t need to hire out any help, and was up and running in no time.
How I Became a Home Decorating Blogger
The biggest challenge that most new businesses face online (including mine) is getting traffic to your site. My shop was up and running but no one knew I existed.
As a result, all of my sales were being generated through eBay, Bonanza, and other online marketplaces because that’s where the traffic was.
Unfortunately, those sites take a hefty commission each time you generate a sale on their platform. Relying solely on those sites for sales was eating into my profits in a major way.
I needed to solve this problem and increase profits. So, I decided to start a blog to drive more organic traffic to my e-commerce shop.

The decision to do so was just as easy as deciding to sell home accessories. I love everything about interior decorating, design, and architecture.
I’ve always dabbled in DIY projects and having recently moved into our first home, I felt that the stars had aligned for me to share my journey decorating our new home on a budget.
Blogging not only spared my mom from endless conversations about pillow covers and curtain selections but also generated awareness of my shop at DianneDecor.com.
At the time I’m writing this I’ll be coming on 2 years of blogging in the home decorating sphere. The amount of hurdles, challenges, and straight-up problems that needed to be solved has been mind-boggling.
Who knew so much was involved in creating posts online!? I sure didn’t.
But now, after countless early morning and many, many late nights, I’ve finally found my footing.
In this post, I’m going to share my experience in all facets of blogging from tone and authenticity to worries about competition.
I will also lay out a basic framework for how to start a home decorating blog so that your experience will be faster, easier, and more enjoyable. Here we go.
The Technical Stuff
In this section, I won’t go into every single detail about how to set up your website. There are so many great tutorials on that already. But, if you have any in-depth questions, send me a message and I’d be glad to help you out.
To start you’ll need a domain name and hosting account. Being a website developer and administrator for the past 10 years, I have strong opinions on how to complete this step.
First, I never buy my domain names and hosting accounts with the same company. If you have issues with your hosting service, such as reliability or speed, you want to be able to move your website easily and without issue.
If your domain registration is bundled up in with your hosting service this will create a more involved and technical process when you try to move to another company. To avoid this issue altogether, I always buy my domain names from GoDaddy and my website hosting services from HostGator.
There are a lot of other good hosting services out there as well, like Bluehost and InMotionHosting.
Getting Your Blog Live
To connect the two accounts, you’re going to “point your domain”. To do this you’ll need your name servers. HostGator or whichever hosting company you choose will tell you what they are as soon as you register your account.
They are usually included in a welcome email or on your hosting control panel homepage.
GoDaddy support will walk you through where to add the name servers to your domain account and boom you’re done.
Once you point your domain your site will be live within a matter of hours. You’ll see some sort of default “coming soon” or “under construction” page until you load your software and build your actual website.
To build your site I highly recommend using WordPress. This is a one-click install from your hosting control panel. It will walk you through the setup step by step.
If you’ve ever installed a program onto your PC, you can install WordPress on your own using the Cpanel.
Once your software is set up, you’re live. You can fiddle around with themes, layouts, and logos. But frankly, none of that matters if you don’t have content.
So it’s best if you focus on what your blog is all about before getting caught up in the aesthetics.
Choosing Your Home Decorating Blog Niche
There are so many different avenues and specialized areas under the home decorating category.
Deciding what you want to write about and how you intend to write is important.
Are you creating an instructional blog where you’ll be sharing how-to guides? Or, are you going to talk about high-end decor and review products? Will you share DIY projects, home tours, offer an in-depth exploration into decorating trends, or just post decorating inspiration? Do you only want to blog about farmhouse decor or modern industrial styles?
There truly are hundreds of different directions to take your blog in when it comes to home decorating.
You can opt for a single topic blog or a multi-topic format. I recommend choosing a few areas to start out with and refine later on.
If 2 months from now you realize you hate putting together home tour posts or creating DIY tutorials, that’s fine. Focus instead on the types of posts you enjoy and the ones that flow easily when you’re writing.
Also, don’t forget your adjacent niches.
Home decorating, party planning, home entertaining, and organization usually go hand in hand.
So, having a blog that is predominantly focused on home decorating does not mean you can’t write about other similar topics. Just avoid being a catch-all blog that talks about decorating one week and auto maintenance the next.
Your Blog First Post
The first thing you need to do is to after setting up your website and choosing your niche is to start posting. This seems like a no-brainer, but it’s a hard step.
You’ll be anxious, excited, fearful, and maybe even a little embarrassed. But, just post something.
It doesn’t have to be perfect, and frankly, it probably won’t even be good. The structure of a good, effective blog post is a moving target.
Blogging styles that worked 10 years ago don’t work today.
You also won’t have developed the skill set needed to create a flawless post, and that’s okay. No one did when they were starting. Just post. Write about something you’re excited and passionate about, check it for spelling and grammar, add a nice photo that helps support your text, and publish.
Overcoming Fear
You’ll have all the time in the world to critique your work after you post. You can always go back and edit, but the most important hurdle to get over is the fear of hitting the publish button.
The funny thing is, we all have this crippling fear that our first post is going to be terrible and so poorly received that our blogging careers are over before they start.
But, the reality is, no one is even going to see that post. Until you promote it or share the link, you’re just an unknown blog floating out there on the web.
Your search ranking is probably in the millions and barely anyone browses past the first 10 search results on Google.
But, as you continue to post you will gain confidence in yourself and your ability. You’ll begin to write content that you’re proud of and will want to share it.
And, once that happens, you know you’re in the groove and are becoming a true blogger. Also, as you build a catalog of quality content on your website, your domain authority will improve and you’ll be more likely to be found.
But, 1 or 2 or 20 blog posts aren’t going to do it. So, get writing!
Getting Personal, Blogging Style, and Authenticity
Getting personal with this blog has been a challenge for me. I’m a naturally introverted, private, person who doesn’t love the idea of strangers knowing intimate details about my life.
But, blogging is personal. The best bloggers forge a connection with their readers because of their authenticity and their ability to share.
We connect with people through shared experiences. And if you don’t share your experiences and the details that helped shape your perspective, it’s hard for others to become invested in you and your work.
Sharing bits and pieces of my private life is still something I’m working on, but I know without a doubt that the posts where I’ve shared a closer glimpse into my life are the most powerful and yield the most response.
We are living in a time of personal branding. We like to know the person behind the blog, product, or service before we commit to them.
So, don’t forget to pepper in some details of your life into your blog posts. Let your audience know who you are and what you’re all about.
We want to make sure our blogging is more of a conversation than a lecture. This type of authentic writing will take you so much further than strategically placed keywords ever will.
Blogging Consistently
This is another hard one for me, I’ll admit. Posting consistently is important when it comes to developing and maintaining a following for your blog.
Not only that, but it affects your website ranking within search engines. The frequency of your posts also plays a role in social media algorithms that decide whether or not your content should be recommended to others on platforms like Instagram and Pinterest.
You don’t have to create a firm schedule, but you do have to be consistent.
A great resource is a book called: Master Content Strategy: How to Maximize Your Reach and Boost Your Bottom Line Every Time You Hit Publish by Pamela Wilson.
In this book, the author teaches you how to approach your blog in a lifecycle approach. It breaks down what you should be doing and how often you should be posting depending on how old your blog is.
So year 1 is all about building your catalog of content, year 2 – 5 you’re focusing on more in-depth work that consists of longer post infused with other rich media.
She has other recommendations for year 6 and beyond along with how to help your older content get discovered after you’ve been blogging for a time.
Her method of forward-linking and backlinking within related posts is great as well. It was the perfect thing to listen to as an audiobook while I was busy cooking, cleaning, or driving.
My First Year Blogging
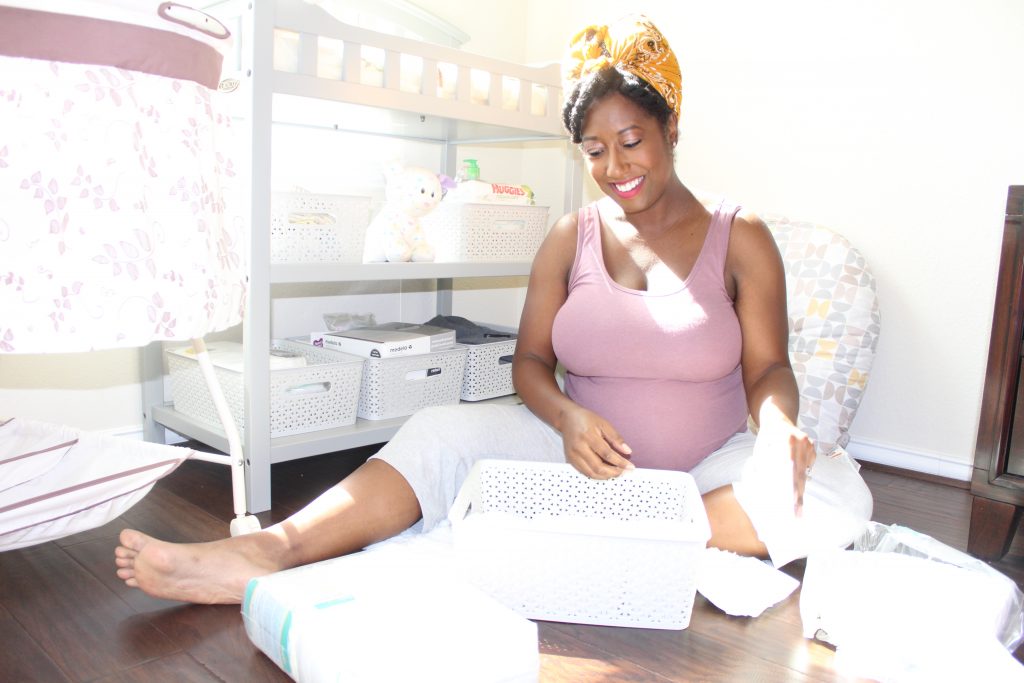
When I first started I was posting 3 – 5 times per week. Then, exhaustion set in. I had a newborn at home with me full-time. And while I thought it would be a piece of cake to write a new piece of content Monday – Friday, the reality was anything but easy.
What I had neglected to factor in was writing on 3 hours sleep, being interrupted every 15 minutes, having to stop to make baby food, dinner, clean the house, etc.
I also needed to get my client web design work done, maintain my online shop, research upcoming blog topics, do keyword research, and all of the after-work that comes with written content.
That includes finding images, formatting images, creating Pinterest pins, creating tweets for Twitter, categorizing your content, adding searchable tags, adding SEO meta titles and descriptions, and the list goes on and on.
What I would later learn is that I was approaching this workload all wrong.
But, until I learned this, my posting consistency would ebb and flow drastically. I was able to post 5 days a week for about 3 weeks, then I would drop back to 2 or 3 posts per week, then I’d go almost a month with no post. I was all over the place.
However, despite all of that inconsistency, my passion and enthusiasm never waned. By the end of my first year, I was surprised to find I’d written 116 posts.
Finding Advice for New Content Creators
After battling inconsistency problems for about a year I started searching for help. I wanted to be better and do better, but I didn’t know how to manage the workload of 5 people by myself.
I was and still am a one-woman show; meaning I write all of my content, take all of my photos, do all of my post research, create all of my graphics, and do all of my social media promotions solo.
So, I started listening to small business and productivity podcasts like Jenna Kutcher’s “Goal Digger Podcast” and Jeff Sanders’ “5 am Miracle Podcast“.
Very quickly, I discovered a pattern in the advice given to content creators. It is batching.
It’s akin to block scheduling in school. For a set amount of time, you focus on one task and one task only. For instance, at its most basic level, to write a blog post I need to:
- Come up with a topic and research keywords
- Draft the post
- Edit the post
- Find imagery
- Format imagery
- Create a pin for Pinterest.
I need to complete those 6 steps to get me from zero to published.
What I used to do was run through each of those steps from 1 – 6 each time I wanted to post something to my blog. It was incredibly inefficient.
How to Start Batching Your Blog Posts
To complete a blog post in that manner I had to switch gears so many times.
First I’d start with a topic idea, then I’d go to Google Keyword Planner to research the right keywords. Then I’d go to Answer the Public to figure out what verbiage people were using to search for this topic.
Next, I would go into WordPress to draft, proofread, assign tags, categories, create affiliate links, and write SEO metadata.
Then, I’d look for imagery on Unsplash or Pixabay if I didn’t have original photography to go along with the post. Then I’d drag that image into Photoshop to resize it. Next, a featured image for the post needs to be created.
Finally, I’d create a Pinterest graphic to share in my Tailwind Tribe (more on Tailwind below). That’s a lot of jumping around between different applications.
There’s a reason why the assembly line works so well. Focusing on a singular task repeatedly allows you to generate results much faster.
So instead of doing task 1, then 2, then 3, then 4, etc. I decide how many posts I want to create (let’s say 6). I then spend 1 day researching all 6 posts, then I’ll spend a couple of days generating drafts for all 6 posts, then edit all the posts, and so on and so on.
By the end of the process, I have 6 fully completed blog posts, ready and waiting to be published.
This is by far the most efficient and least stressful way to maintain a blog and post consistently.
Now, I’d like to shift to the topic of other bloggers. Let’s talk about peers, competitors, and blogging communities.
Competition and Your Peers
A question that will likely cross your mind when you first start blogging is: should I be worried about competition from other bloggers? The answer is: Absolutely not.
Other bloggers are not your competition, they are your peers. Put competition out of your mind.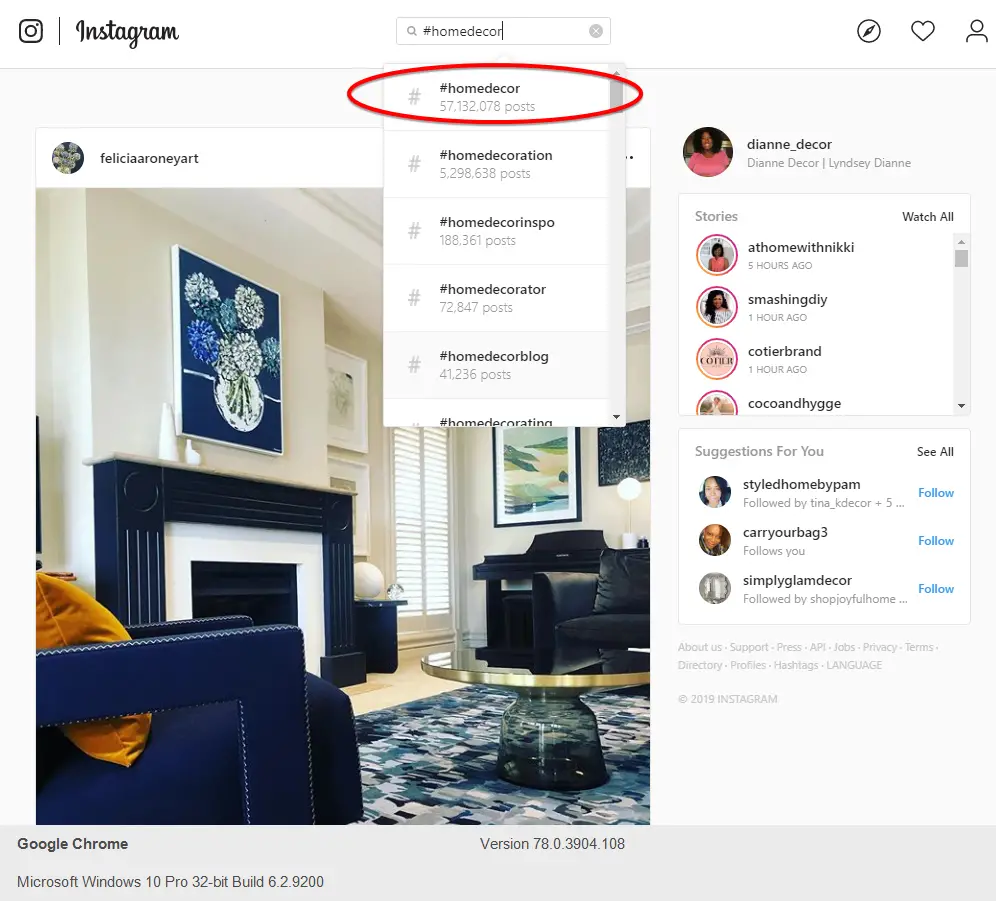
When I started, I was concerned about the fact that there were already other bloggers writing about the same topic. Could I compete?
They’ve been writing for 6 years and have 70k followers on Instagram. Why would someone want to read my post about “What’s Your Home Decor Style?“, when the topic has already been covered by a bigger blogger.
In reality, worries about competition and redundancy are inconsequential. Just because someone else has posted a tutorial on how to decorate a Christmas tree doesn’t mean you shouldn’t do it as well.
We all have unique perspectives shaped by our experiences. My take on the subject matter will be different than yours.
Moreover, your voice and personality are really what draw people into reading your posts. This goes back to the “getting personal” thing. Your readers will connect with you as a person and want to hear your opinion.
How to Tackle Redundancy In Your Niche
Something to keep in mind as well is that there will always be a new influx of information seekers. When it comes to home decorating, there will always be a new 18 or 20-year-old young adult that has just signed the lease on their first apartment.
It’s the first time they’re getting to design and decorate the spaces they live in. So, they’ll need some inspiration and guidance for the time.
Your peer’s blog post on 10 Apartment Decorating Ideas maybe 10 years old at this point. That means your fresh content will be written in the context of what’s popular now and with the knowledge of what’s available right now. So, absolutely write about that. Don’t worry about the fact that it’s already been done.
Furthermore, don’t forget that home decorating and interior design are creative arts.
There is no competition when you’re working in a creative space.
Interior decorating is a form of self-expression, and what looks nice to one person, may not to another. What’s functional for me maybe a nightmare for you. There is no right or wrong way to do it.
Blogging Communities & Social Media
Find a few blogging communities that you like online and engage with them. I have found that sharing and engaging with home decorating communities online has been incredibly motivating.
I love seeing what other people are up to and how they solve problems.
Sharing advice, tips, tools, and of course cheering each other on will keep you going. A little reassurance from a blogging friend that your efforts aren’t in vain is priceless.
I love Bloglovin’ to find other blogs and get mine into syndication. I’ve also heard that Medium is good, although I haven’t done much on that platform aside from setting up my profile.
My favorite social networks are Pinterest and Instagram.
Frankly, the place where I spend the most time online is in my Tailwind Tribes. Tailwind is a Pinterest scheduling platform that allows you to schedule out your pins in advance and connect with other pinners to help get your content shared.
Tribes are essentially a bigger, better, version of group boards.
I highly recommend Tailwind. In fact, I would say that once you have your footing creating nice pins, and want to start generating big-time traffic from Pinterest, join Tailwind right away.
It’s easy, it’s free, and there are customizable upgrades that you can take advantage of later on.
I receive thousands of visitors each month from Pinterest since I started using Tailwind about a year ago. They also have Tailwind for Instagram as well.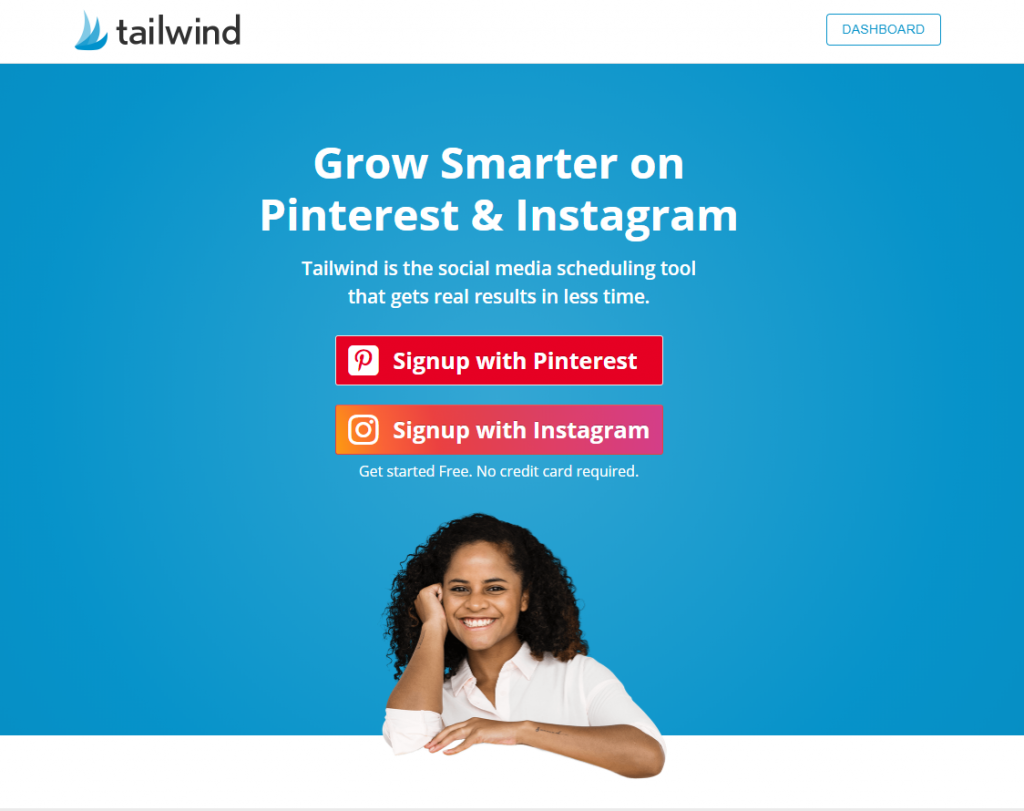
Speaking of Instagram, that’s my second favorite social network to hang around.
I get a ton of decorating inspiration and DIY ideas from Instagram. Not to mention, it’s easy to find “your people” by searching hashtags like #decoratingonabudget or #homedecor.
I also use Instagram to keep up with what’s available in stores by following tags like #dollartreefinds and #homegoodsfinds.
Action Steps
If you’re still with me, you’re ready to start a blog. So here’s what you do in your first month.
Week 1
- Buy a domain name (godaddy.com)
- Buy a shared hosting package (hostgator.com)
- Install WordPress from your hosting control panel
- Write your first post from start to finish and publish. This will show you the process and get you on the scoreboard.
Week 2
- Batch write 15 blog posts using the method outlined in the “Batching” section above
- Schedule out your posts for 3 days each week
Week 3
- Take a week to do website maintenance and graphics (fiddle with your theme, logo, social media profile graphics, create Pinterest pins, etc.). In the background, your posts should be publishing as scheduled.
Week 4
- After this week you should have at least 4 posts live on your site. You will also have a Pinterest pin for each of those posts.
- Now is the time to hop on Tailwind. Start out with a free membership and find some tribes. Submit your posts to those tribes and start sharing your tribe member’s content on Pinterest. You’ll quickly see your pins getting shared and traffic will start to trickle in.
- Spend the week in Tailwind scheduling content. You can also spend some time in other social networks, but focus on those that generate traffic.
Week 5
- Spend the week taking original photography. You can use your smartphone and apps like Mix to enhance your images after shooting. You’ll need lots of original imagery to add to your blog posts and Instagram.
Finally, rinse and repeat weeks 2 – 5 and that’s what your months should look like going forward. This will keep you in a constant mode of content creation and promotion for your blog.
Conclusion
I hope you found this post helpful. If you did please share it with a friend. If you have any questions, please leave them in the comments below.
For more from Dianne Decor follow me on Bloglovin’, Pinterest, Instagram, and Twitter.


saad
March 31, 2022Nice blog!