DIY Custom Photo Mats In 3 Easy Steps

Creating your own custom photo mats is a great way to upgrade your framed pictures. It’s also a way to save a few dollars when purchasing picture frames.
In this post I’ll show you how to create your own custom photo mats in 3 easy steps.
What Is Photo Matting?
Matting within picture frames helps to highlight the photo or artwork you are framing. It creates a border between the frame itself and the picture.
The thickness of the mat can vary, although most are anywhere from 1/2 inch to 2 inches. Often times you will see two sizes written on the outside packaging of the frame.
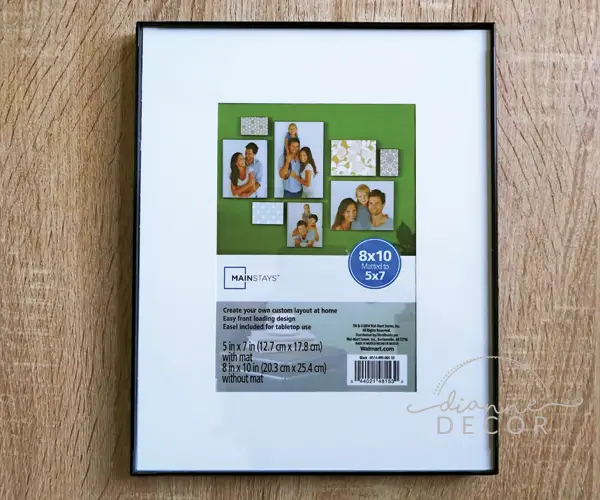
In the example below, you’ll see this is a frame that measures 8 inches x 10 inches and is matted to 5 inches x 7 inches. This means the area available to display your image or artwork is 5 inches x 7 inches with a 1.5-inch mat around it.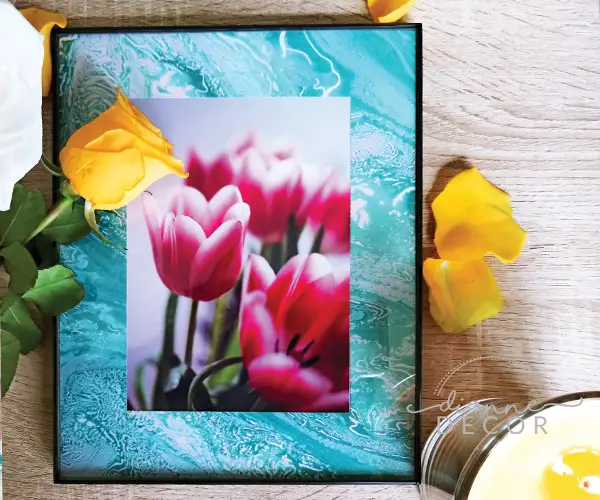
What Is a Custom Photo Mat?
While the vast majority of photo mats come in a solid white color, there are also custom mats available. You can use any color or pattern you desire and have the mat created for you.
However, you will have to pay for this service. Most craft stores like Michaels and Hobby Lobby offer custom framing services in-store.
You bring your image to them, select your frame, and your mat from their catalog and they’ll put it together for you. This service may take a few days and can cost quite a bit depending on the size of the frame.
If you’re on a budget, however, this is not the way to go.
How to Make Photo Mats
If you want to save some serious cash without sacrificing style, a DIY custom photo mat is the way to go. It will not only elevate the look of your photo displays, but it allows you to save a few bucks and buy an unmatted frame.
Typically, frames that come with the white matting are slightly more expensive than those that don’t. With the method I’ll share below, you can either replace the plain white mat that comes in your frame or add a mat to a frame that doesn’t currently have one.
Custom Frame Mats in 3 Easy Steps
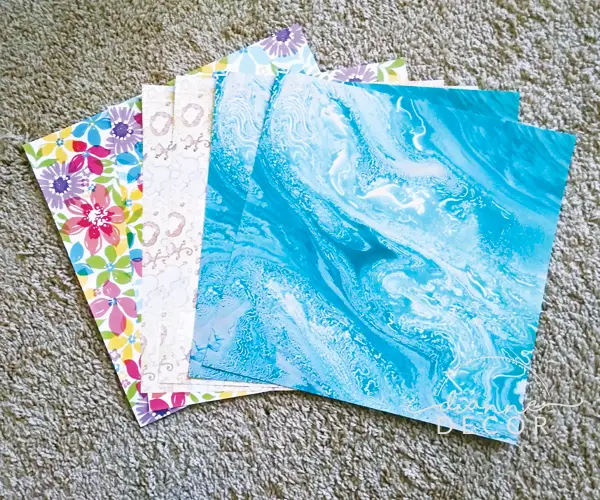
Step #1 – Select Your Decorative Paper
Here’s what you do. Go to your craft store and head to the scrapbook and decorative paper section. Here you’ll find a wall filled with hundreds of different colors and patterns.
In Hobby Lobby the sizes I found were 8.5 inches x 11 inches and 12 inches x 12 inches. They cost anywhere between 39 cents and 79 cents. However, they often have sales where you can buy 4 for $1.
To determine what size you’ll need, you’ll first need to measure the inside edge of your frame. This is the size of the clear glass where an image is displayed. Select a scrapbook paper size that meets or exceeds those dimensions.
Note: If you have a large frame like an 11 inch x 14 inch and don’t see paper large enough for your project look for a roll of decorating paper. This should be in the same aisle.
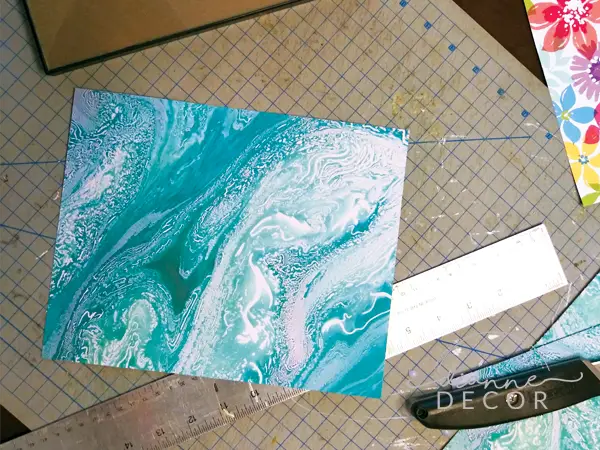
Step #2 – Cut Down to Size
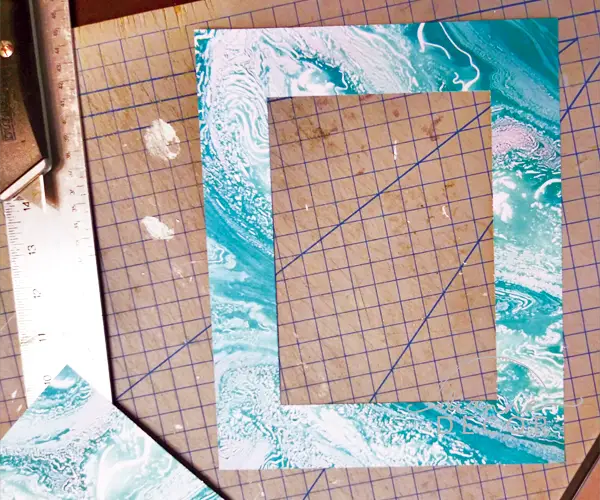
Cut your scrapbook paper to the inside dimension of your frame. In the example below I’ve cut my paper to 8 inches x 10 inches.
Then I measured 1.5 inches in from each corner and drew a faint line connecting the points on each side. This created a guide for where to cut out a 5 inch x 7 inch home in the center of the mat.
Note: If your frame came with a plain white mat that you wish to replace; skip the measuring and simply trace the existing mat to get your size.
Step #3 – Complete Your Center Cut
Use a Xacto knife or box cutter to carefully cut along your guide. Cut along all 4 sides and pop the center out of the scrapbook paper. You’ll be left with your custom mat.
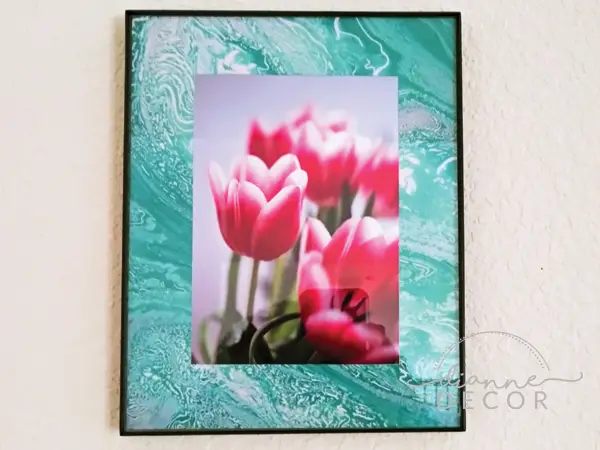
To reassemble your frame center your picture, place the mat on top, place your glass, flip it over, and secure your backing. That’s it!
Here’s another look at the completed project.
If you try this project please let me know how it turned out in the comments below. For more content from Dianne Decor sign up for my newsletter here and be sure to follow me on Instagram.